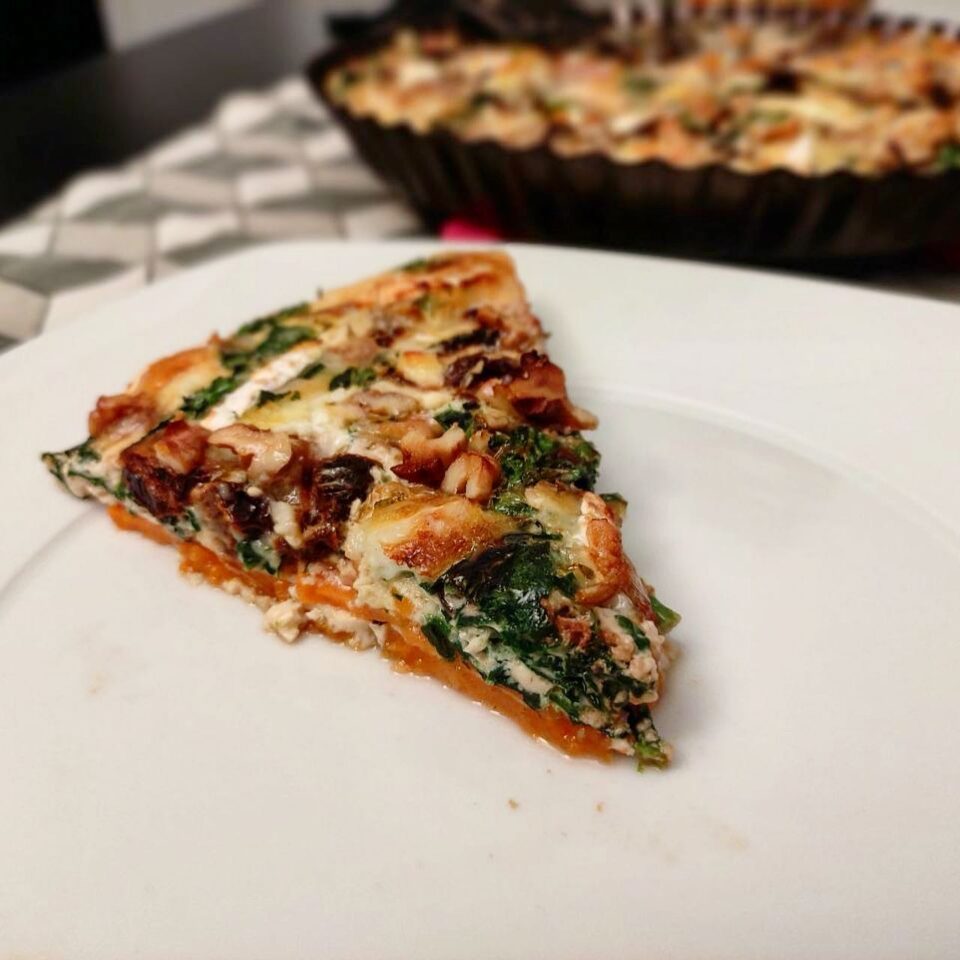
Pseudo quiche de batata
Esta es una forma diferente de hacer una pseudo quiche o una tarta salada que además supone una gran alternativa para aquellos que no pueden o no quieren tomar gluten. Respecto a una quiche tradicional le falta el crujiente de la masa quebrada pero como ventaja es que se trata de algo menos calórico y aporta un punto dulce bastante agradable.

Ingredientes
- 1 batata grande
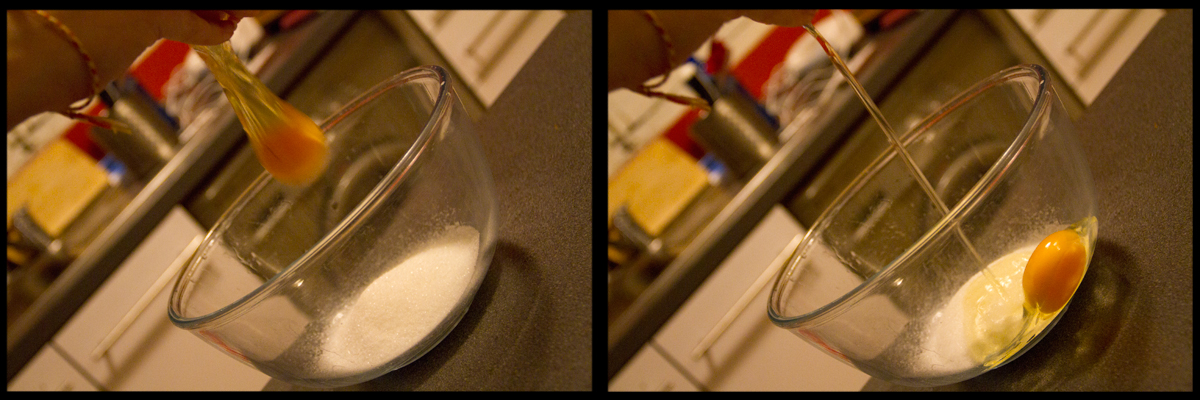
- 4 huevos
- 350 ml de leche
- 85 g de espinacas frescas
- 100 g de tomates secos
- 110 g de queso de cabra
- Un puñado de nueces troceadas
- 2 cucharadas de queso crema (yo usé Skyr)
- Sal, pimienta y AOVE
Elaboración
- Precalentamos el horno a 190ºC.
- Lavamos la batata, le hacemos unas incisiones en la piel y metemos al microondas durante un par de minutos (os podéis saltar este paso pero así la ablandamos un poco y resulta más fácil cortarla).
- Sacamos la batata con cuidado de no quemarnos, la pelamos y la cortamos en rodajas muy finas (de unos 3 mm).
- En un bol mezclamos las láminas de batata con sal, pimienta y aceite de oliva y las colocamos solapadas sobre un molde redondo apto para horno cubriendo el fondo y las paredes.
- Horneamos durante 20 minutos aproximadamente.
- Mientras tanto, batimos los huevos en un bol, salpimentamos, añadimos el queso crema, la leche y los tomates secos y mezclamos bien.
- Cuando haya pasado el tiempo de horneado y la batata esté blandita, sacamos el molde, colocamos las espinacas crudas ligeramente troceadas sobre la base de batata y añadimos la mezcla de leche y huevos.
- Por último, repartimos por toda la superficie el queso de cabra cortado en trozos y las nueces.
- Horneamos unos 30 minutos y ya lo tenemos listo para disfrutar.
Consejos PiC
- El queso crema no es necesario, lo eché por aprovecharlo ya que llevaba rondando en nuestra nevera unos días. Si en vez de leche quieres usar nata como las quiches tradicionales puedes hacerlo sin ningún problema, quedará algo más sabroso y cremoso.
- Cuando hablo de tomates secos son aquellos que están deshidratados pero ya han sido rehidratados y suelen estar en aceite aliñados. Si tienes tomates deshidratados sin más pero los quieres «revivir» y aliñar tú mismo para usar en cualquier receta es muy fácil. Pon a hervir 700 ml de agua y cuando empiece a hervir, apaga el fuego, añade 50 ml de vinagre blanco y los tomates deshidratados. Deja reposar media hora. Pasado el tiempo, saca los tomates y sécalos bien con papel de cocina. Luego pásalos a un bote con aceite de oliva, ajo y hierbas aromáticas a tu gusto y en un par de días todo habrá cogido un sabor delicioso.