Pickled Mussels

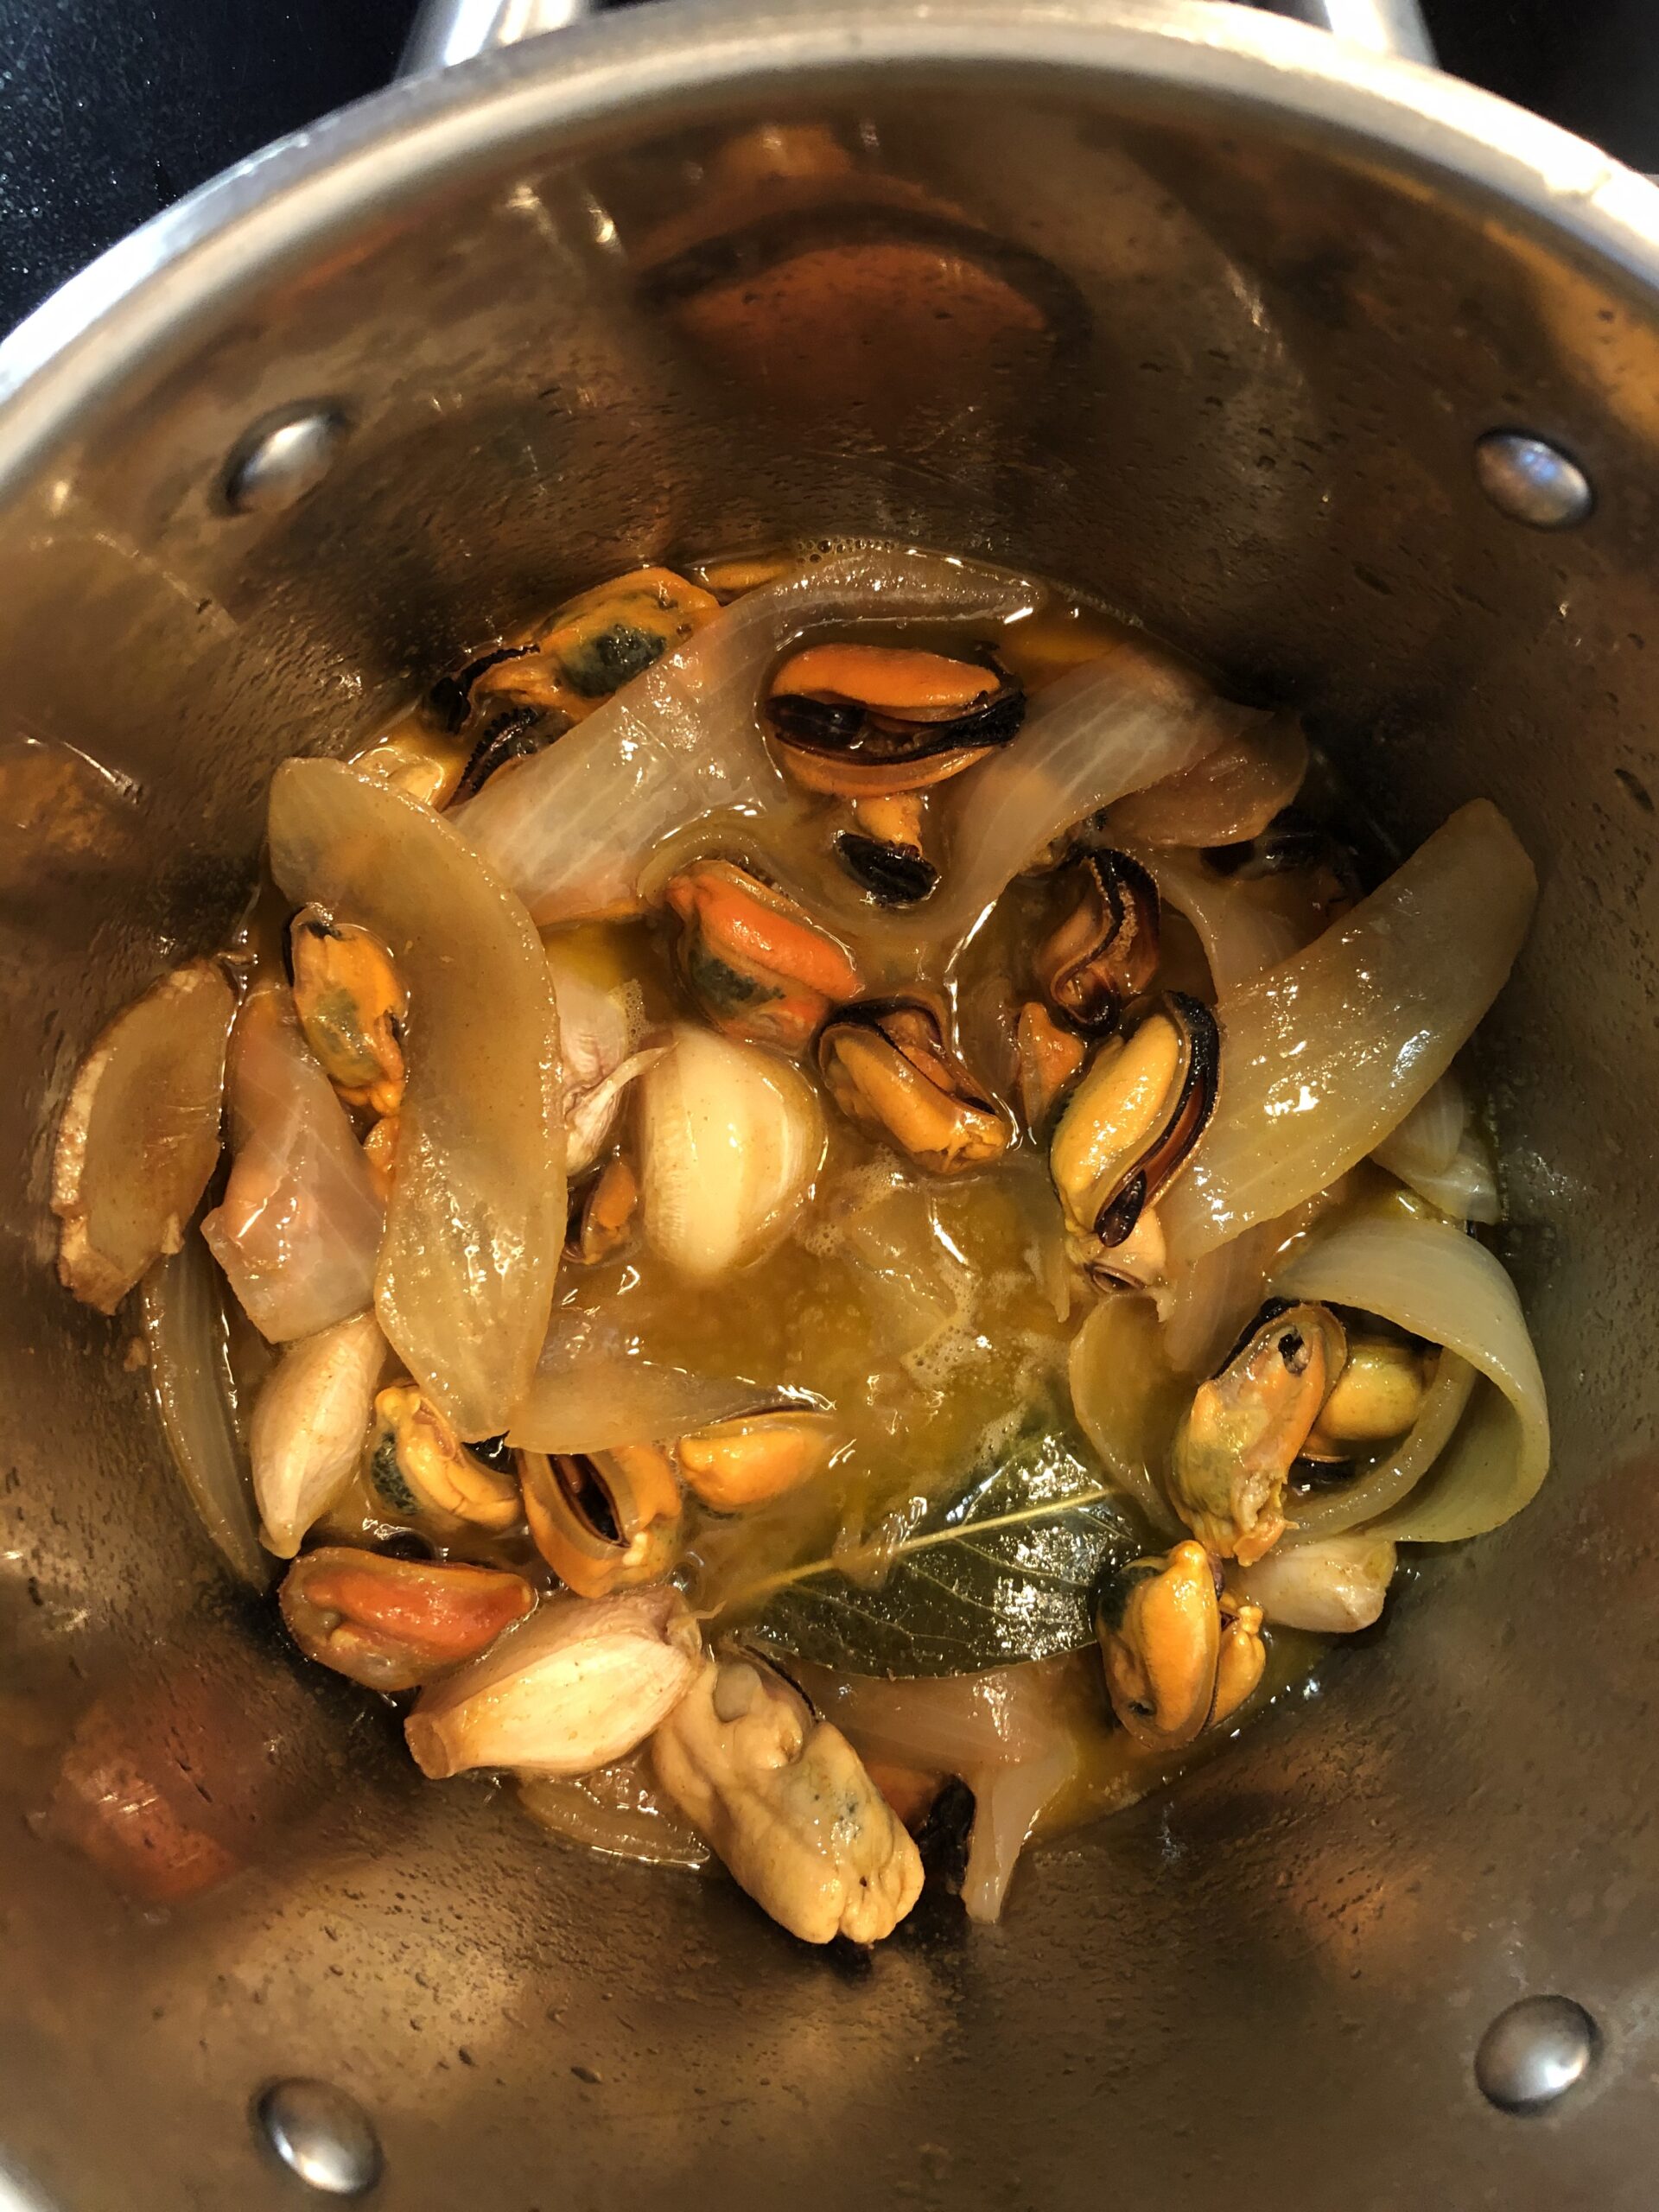
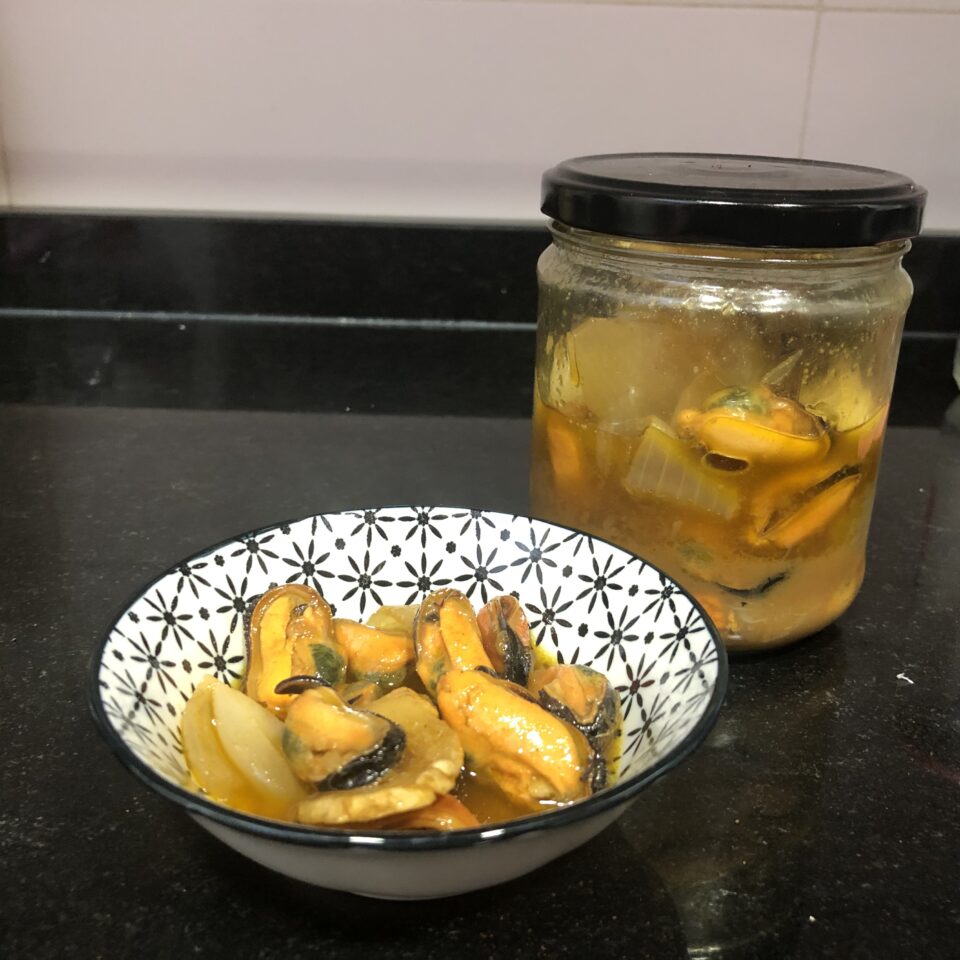
At first I thought this would be one of those recipes that wasn't worth making at home, but how wrong I was. I felt like making the escabeche, seeing the method, and checking whether I could pull off that characteristic flavor. I liked it so much that I've repeated the process about three times this summer. They go a long way and keep for several days in the fridge, so there's no excuse not to have a really tasty homemade appetizer on hand.

Ingredients

  • 1 kg (2.2 lb) mussels
  • 300 ml (1.25 cups) olive oil
  • 100 ml (scant ½ cup) sherry vinegar
  • 50 ml (3 tbsp + 1 tsp) white vinegar (I used rice vinegar)
  • 100 ml (scant ½ cup) white wine
  • 1 head of garlic (cloves separated, unpeeled)
  • 1 large onion, julienned
  • 3 slices of fresh ginger
  • Whole peppercorns (I used allspice)
  • 2-3 dried chili peppers
  • 3 bay leaves
  • Salt
  • 2 teaspoons paprika (sweet, hot, or a mix)
Pics and Cakes

Method

  1. Steam the mussels just until they open but stay tender. Remove the shells and beards. Set aside.
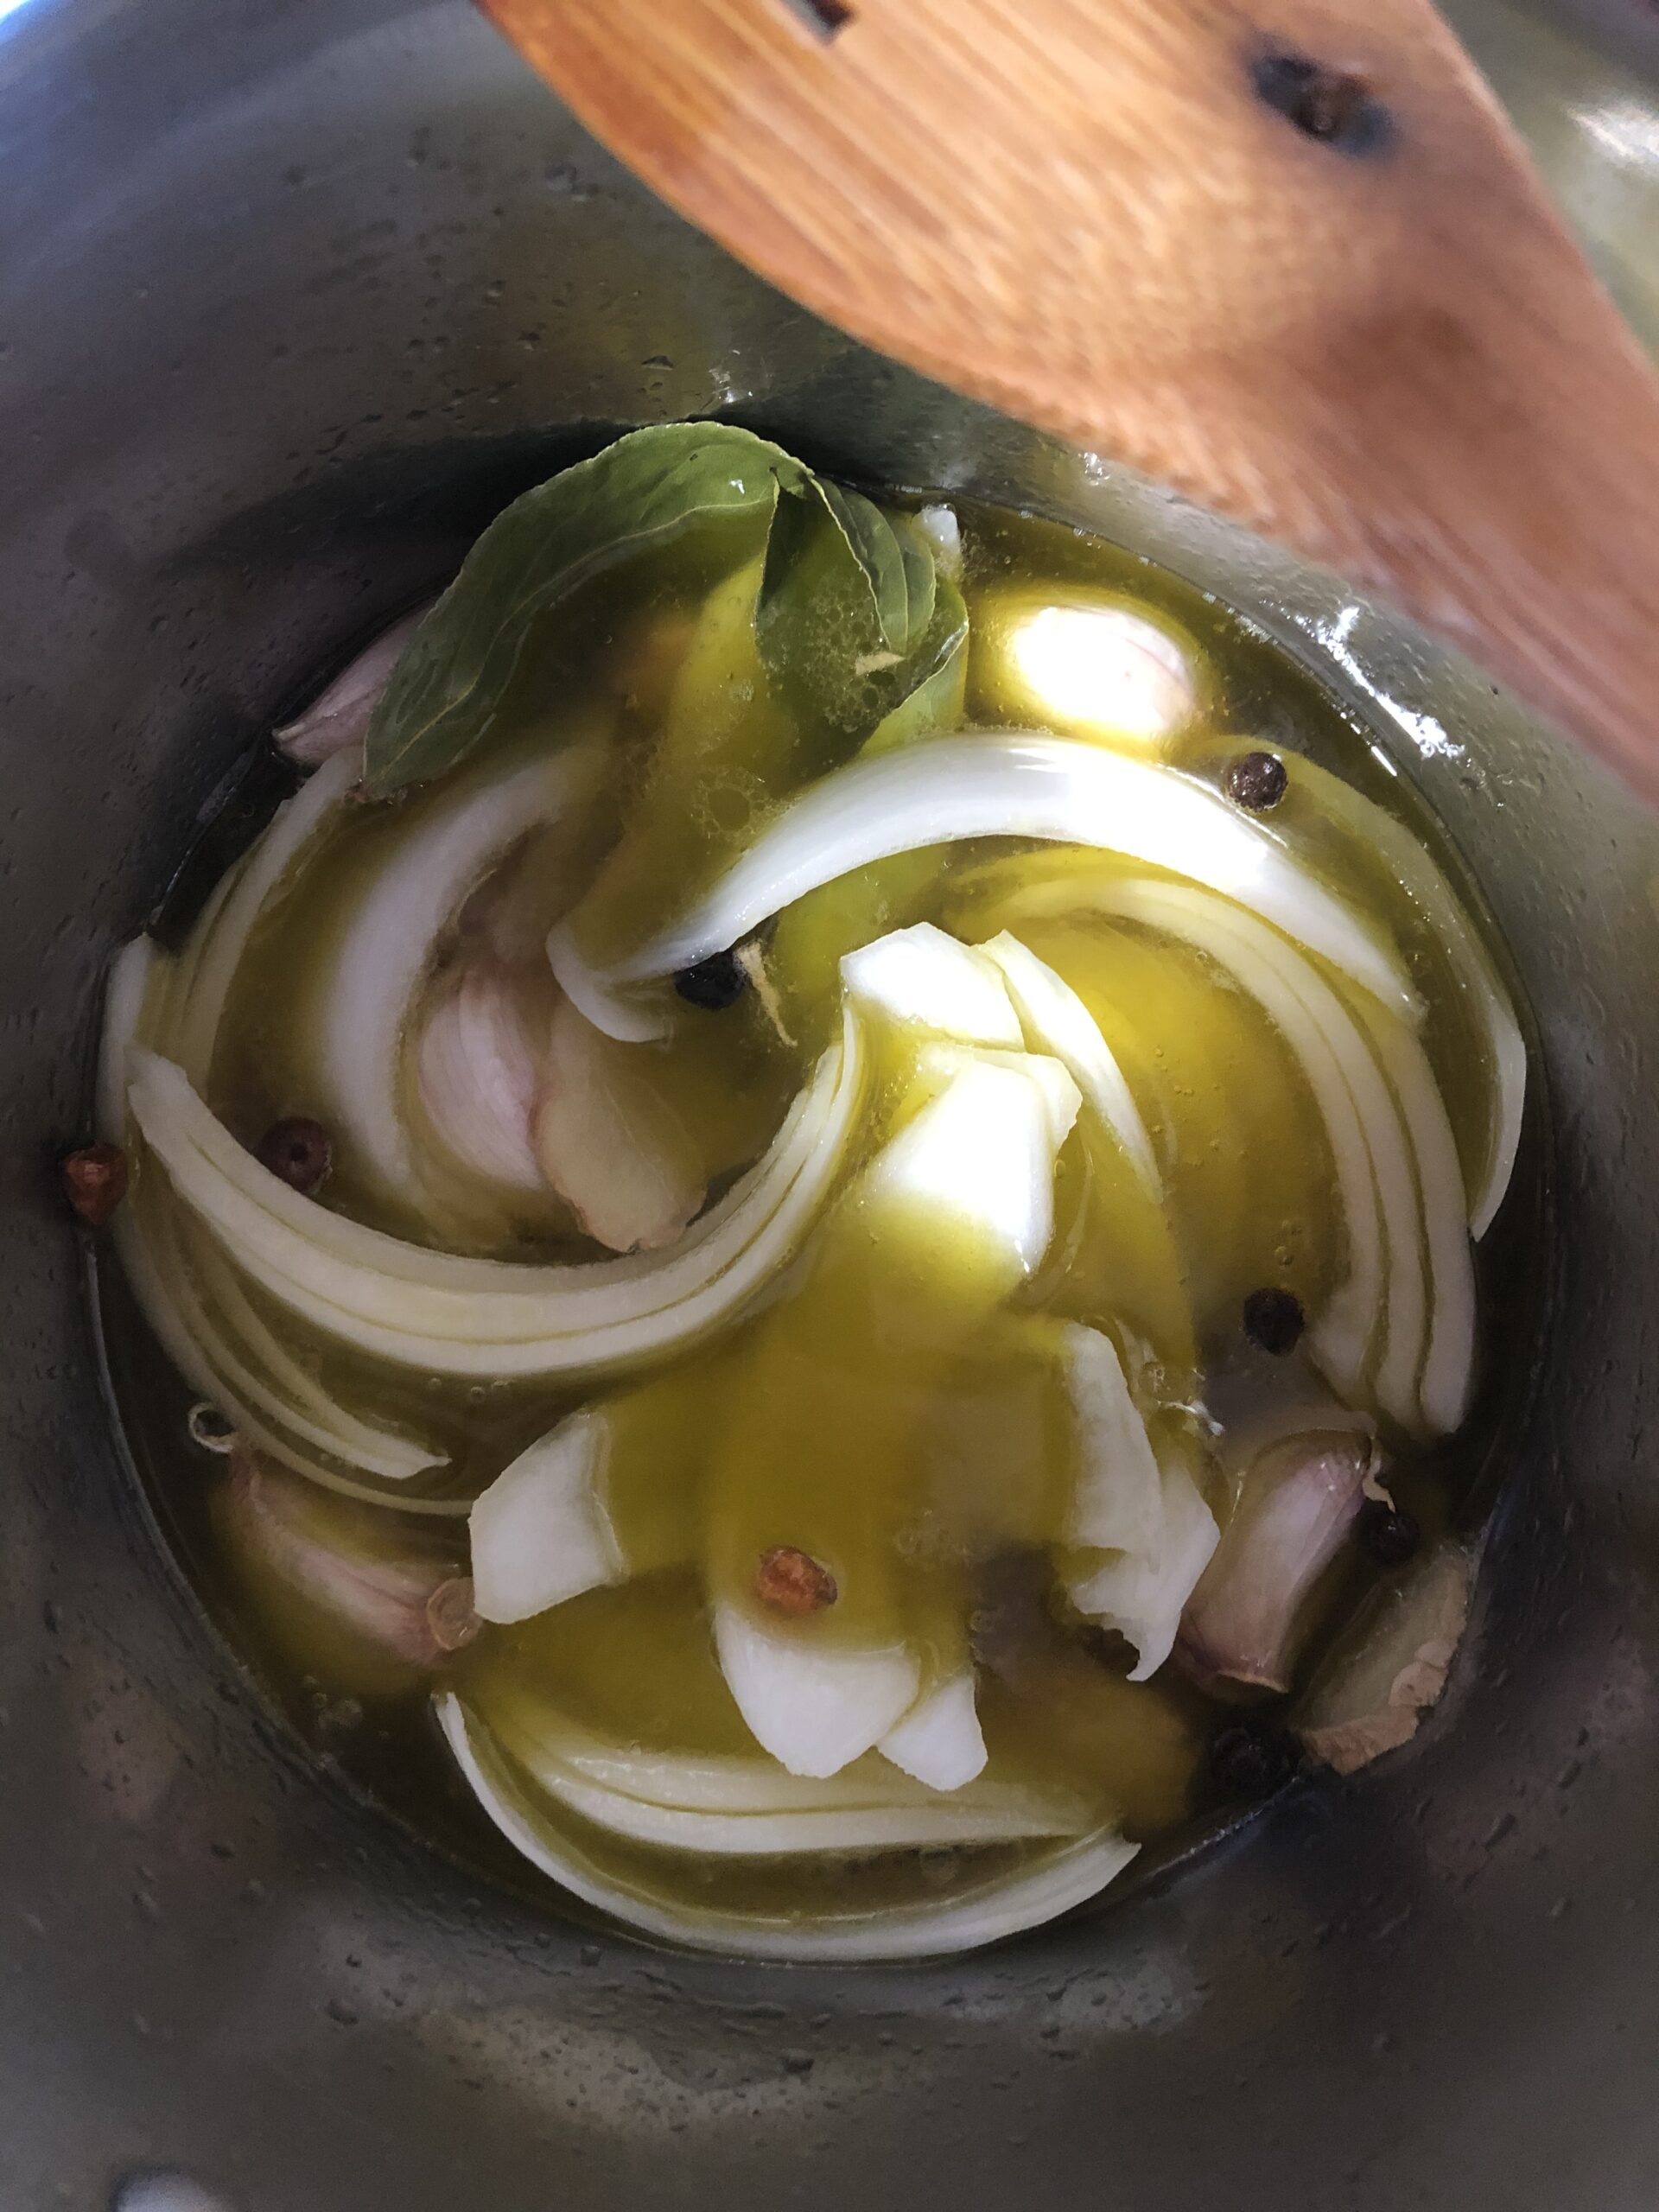
  2. Heat the oil in a saucepan and add all the ingredients except the cooked mussels and the paprika.
  3. Let it simmer over medium heat for 30 minutes.
  4. Once the time is up, take it off the heat and add the paprika. Stir well and add the mussels.
  5. Put it back on the heat for a few seconds just to warm the mussels through.
  6. All that's left is to transfer everything to jars and they're ready to enjoy. Although it's better to leave them for a few hours so the flavors settle in nicely.

PiC Tips

  • You can sterilize the jars beforehand by boiling them in water for 15-20 minutes.
  • With this recipe we're not creating a true preserve since we haven't vacuum-sealed them or boiled them afterwards, so I recommend keeping them in the fridge. When you want to enjoy them, take them out of the fridge a bit ahead of time so they come to room temperature and the oil isn't so solid.
  • You can add other herbs or spices to taste, depending on what you have in your pantry.
Pics and Cakes
Pics and Cakes

September 30, 2020 · 2 min · Palstelera

Camembert with Caramel and Walnuts

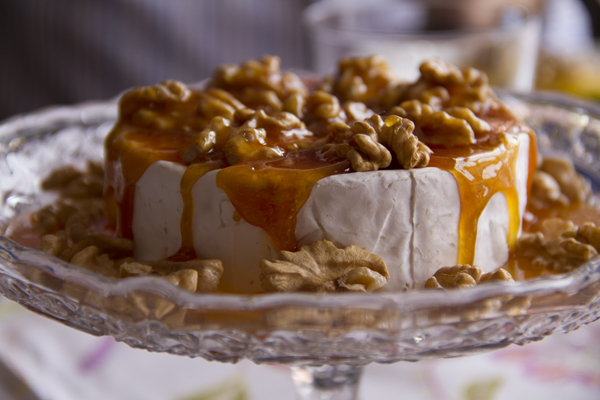
They say good things come to those who wait, and it seems that’s exactly what we’ve been trying to do with this new recipe. But anyway, we’re finally back to posting, and we’re bringing you an easy, quick, and delicious appetizer suggestion, once again borrowed from La Receta de la Felicidad, who recommends it as a Christmas gift. But hey, when it comes to enjoying a good cheese, who cares if it’s Christmas, Easter, or the middle of August, right?

Pics and Cakes

What do we need?

  • 1 Camembert cheese

  • A handful of shelled walnuts

  • 100 g (1/2 cup) sugar

  • 2 tablespoons butter

How do we make it?

  • Place the whole Camembert cheese on a plate and arrange the walnuts on top.

  • In a small saucepan or skillet, heat the sugar over medium heat and let it melt slowly without stirring (even if you feel tempted to).

  • Once the sugar has melted into a kind of thick, pale syrup, you can stir it and let it cook a little longer until it reaches a golden caramel color.

  • Turn off the heat, add the two tablespoons of butter, and stir well.

  • Immediately pour the caramel over the Camembert with walnuts, trying to make a thin layer or even caramel threads.

Tips:

  • Be careful not to leave the caramel on the heat for too long, as it could burn and result in a very dark, bitter caramel.

  • You can cut the cheese into portions right after pouring on the caramel. Otherwise, once it solidifies it can get tricky (that’s another reason why the caramel layer should be thin).

________________ [English version] CAMEMBERT CHEESE WITH NUTS AND CARAMEL* *Ingredients:

  • 1 Camembert cheese

  • Several nuts

  • 100 g sugar

  • 2 tbsp butter

  • Place the cheese into a dish and put the nuts over it.

  • Place the sugar into a sauce pan and cook over medium low heat. Let it melt slowly.

  • When the sugar is totally melt you can use a spoon to stir.

  • Keep cooking until golden brown. Add the butter and stir well.

  • Pour immediately over the cheese with the nuts. Try to create a thin layer.

  • Tips:- Do not overcook the sugar or you’ll get a dark and bitter caramel.* - Cut the cheese into portions right after pouring the caramel. Otherwise, when caramel is hard it could be very difficult (that’s why you have to try to make a thin layer).

June 20, 2013 · 3 min · Palstelera

Gorgonzola and Muesli Croquettes

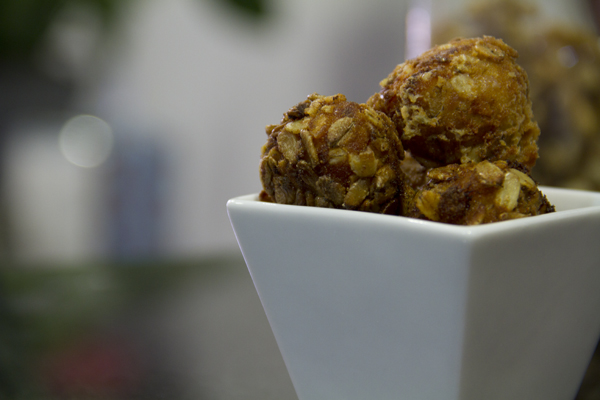
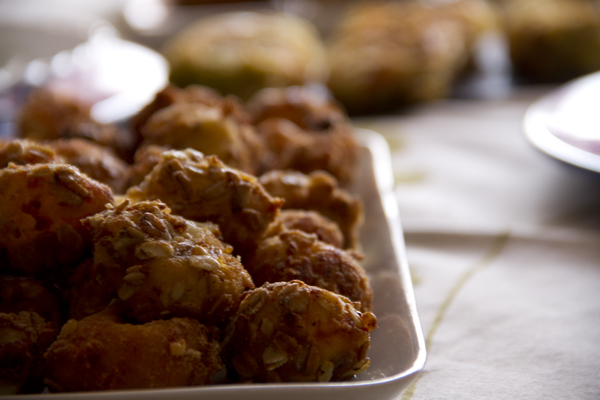
I made these croquettes for the first time as an appetizer for a New Year’s Eve dinner, and honestly, everyone loved them. Even the ones who wrinkled their noses a bit when they saw the muesli coating ended up enjoying the strong contrast between the crispy outside and the creamy filling. Whether for the holidays or any random day, we encourage you to give these a try because the recipe is absolutely worth it.

Pics and Cakes

What do we need?

  • 4 tablespoons of flour

  • Half a liter of milk (about 2 cups)

  • 100g (3.5 oz) of gorgonzola cheese

  • 2 tablespoons of olive oil

  • 2 tablespoons of butter

  • Salt

  • Black pepper

  • 2 eggs

  • Breadcrumbs

  • Muesli without fruit

  • Olive oil for frying

How do we make it?

  • First, we make the béchamel. To do this, put the oil and butter in a frying pan.

  • Once the butter has melted and the pan is good and hot, add the flour. Stir well and let it cook for a moment (so it doesn’t taste raw later).

  • Next, gradually pour in the milk little by little, stirring constantly and energetically to prevent lumps from forming. We want a fairly thick béchamel since it’s going to be used for croquettes and will also have a very creamy cheese mixed in.

  • Toss in the cheese cut into chunks and keep stirring until it’s fully melted, then season with salt and pepper.

  • Pour the béchamel into a wide dish so it spreads out nicely. It needs to cool for at least two hours, finishing in the fridge so it firms up properly.

  • Once the mixture is cold, shape it into balls. Since the flavor is intense, try not to make them too big.

  • Roll the balls in breadcrumbs.

  • Set up three bowls: one with the beaten eggs, another with the muesli, and another with breadcrumbs. Pass each ball through the three bowls in this order (egg-muesli-breadcrumbs).

  • Heat a frying pan with oil, and once it’s nice and hot, drop the croquettes in and fry them until golden brown.

  • Once they’re out, place them on a plate lined with paper towel to soak up the excess oil.

Tips:

  • It’s best to fry them right before serving so the coating stays crispy and the filling stays creamy. If you want, you can prep them ahead of time and leave them in the fridge, or even freeze them and fry them whenever you fancy a bite.

  • If the béchamel gets the better of you and lumps end up forming, you can blitz them out with a hand blender before adding the cheese. It’s not the proper method, but hey, sometimes these things happen, and a well-timed blender can save you a lot of trouble :-)

Pics and Cakes


December 30, 2012 · 3 min · Palstelera

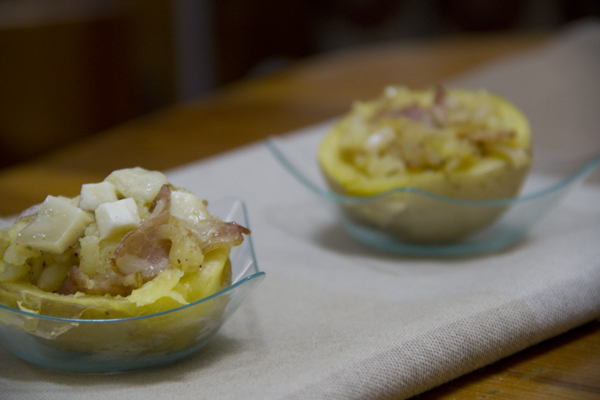
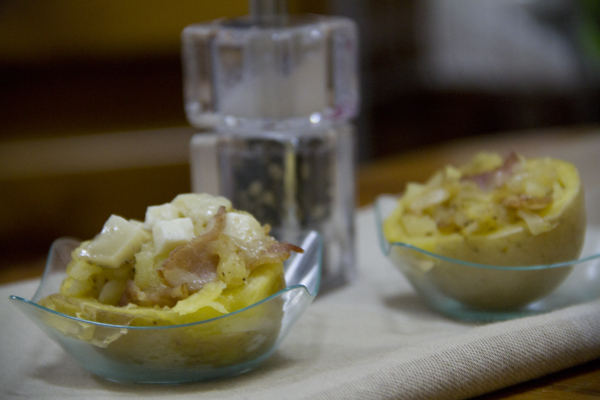
Stuffed Potatoes

I have to admit we’re a bit like sponges — anything we see and like, we try to make at home. That’s exactly what happened with today’s recipe. A few years ago we went with friends to spend Easter week in Camposancos, a lovely little village in Pontevedra, and there Ana (with Germán’s help) made us some delicious stuffed potatoes that could have fed a regiment (well, maybe we weren’t quite that many…). The thing is, we loved the idea and ever since it’s been part of our recipe book.

Pics and Cakes

What do we need?

  • 4 medium potatoes

  • 5 slices of bacon

  • 1 onion

  • Cheese

  • Salt

  • Pepper

How do we make it?

  • Bake the potatoes in the oven. (You can check here if you’re not sure how to do it.)

  • Meanwhile, chop the bacon and onion and sauté them in a pan with a little olive oil.

  • When the potatoes are ready — you can check by poking them with a kitchen skewer — take them out of the oven and cut them in half.

  • Carefully, with the help of a spoon, scoop out the halves, leaving the skin with a thin layer of potato.

  • Mix the scooped-out potato with the sautéed bacon and onion. Season with salt and pepper.

  • Fill the potato halves with the mixture, add a bit of cheese on top, and put them in the oven to broil.

Tips:

  • Any kind of cheese works. We like it with Emmental (elementary, my dear Watson).

  • If you don’t feel like baking the potatoes, you can boil them instead, but we recommend at least broiling them with the cheese in the oven.

  • This is just our take on the filling. Feel free to adapt it to your taste.

Pics and Cakes

December 27, 2012 · 2 min · Cesmm

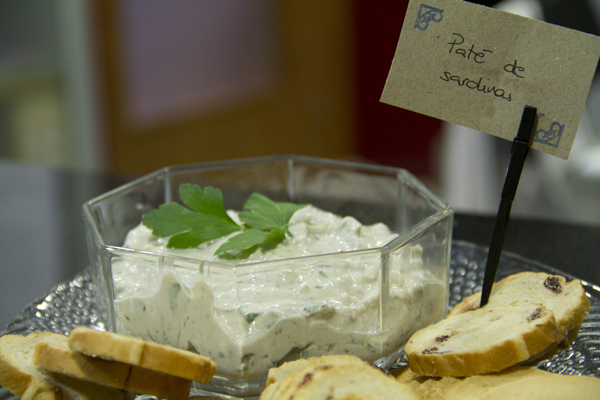
Sardine pâté

This is one of those recipes that comes together almost without thinking, with just a few totally everyday ingredients. An easy way to put out an appetizer where you know exactly what’s in it and that’s bound to surprise more than one guest. We made it as part of a big buffet-style spread for a birthday. You can serve it already spread, piped into little tartlets, or, if you prefer, in a pretty bowl so everyone can help themselves.

Pics and Cakes

What do we need?

  • 1 small tin of sardines in olive oil

  • 70 g (2.5 oz) cream cheese

  • ¼ spring onion

  • 60 ml (¼ cup) lemon juice

  • Chopped parsley

  • Salt and black pepper

How do we make it?

  • Drain the sardines and, with the help of a thin knife, remove the central bone (if they’re baby sardines, you probably won’t need to).

  • Finely chop the spring onion.

  • Put all the ingredients in a bowl and mix, mashing them with a fork (if you want to feel the chunks) or with a blender (if you’d rather have a smoother, finer pâté).

  • Refrigerate for at least an hour so the flavors meld and it thickens up.

Tips:

  • You can make it the day before — it’ll firm up nicely and you’ll get a head start on the kitchen work.

  • For those who like it, you can swap the parsley for cilantro.

*[English version] SARDINE PÂTÉ

  • **Ingredients:
  • 1 small tin of sardines in olive oil

  • 70 g cream cheese

  • ¼ spring onion

  • 60 ml fresh lemon juice

  • Chopped parsley

  • Salt and black pepper

  • Drain sardines and remove the central bone with a sharp knive.

  • Finely chop the spring onion.

  • Put all the ingredients together into a bowl and mix smashing them with a fork (if you want to feel the ingredients) or with a mixer (if you prefer a thinner and smoother pâté).

  • Leave cool in the fridge for at least 1 hour. It will unify flavours and become thicker.

Tips:

  • You can prepare it the day before. It will be tastier and you’ll save time in the kitchen.

  • If you like, you can use coriander instead of parsley.


Comments

cris (2013-01-02 18:27:57):

This pâté is sooooo good! and super easy to make! we made it for New Year’s Eve and it was a hit. Don’t go thinking you’re about to eat a tin of sardines — between the onion, the bit of lemon and the cheese, it’s a super tasty mousse!!

Thanks so much to you both

xx

Palstelera (2013-01-05 00:16:37):

So glad you made it for New Year’s Eve and that you all enjoyed it… :-D

December 7, 2012 · 3 min · Palstelera

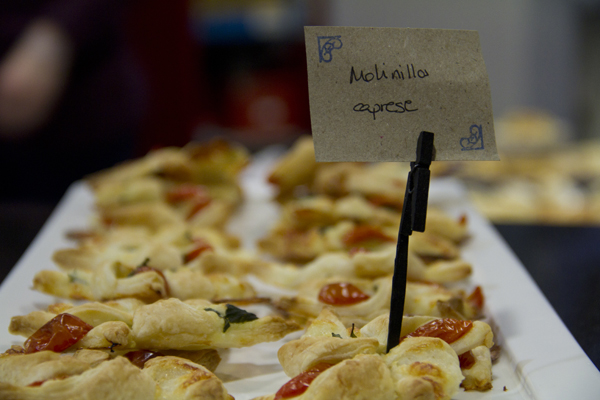
Caprese Windmills

Today we bring you another easy recipe you can make for any get-together. The recipe, taken from Directo al Paladar, is inspired by Italian cooking. Mozzarella, basil and tomato — a delicious combo that works not just in these little windmills but also in salads and, one of my favorites, on pizzas.

Pics and Cakes

What do we need?

  • 1 sheet of puff pastry

  • 1 ball of mozzarella

  • 2 ripe tomatoes

  • Basil

  • Olive oil

  • Oregano

How do we make it?

  • Roll out the puff pastry on a lightly floured surface.

  • Cut it into squares about 8-10 cm (3-4 inches) on each side.

  • Once you have the squares, make a cut along each diagonal, stopping before you reach the center, so you can fold the corners in toward the middle.

  • Slice the mozzarella into strips and place a basil leaf and a piece of cheese on each of the “blades” formed by the puff pastry.

  • Wash the tomatoes and slice them into strips too, then place them on two of the blades.

  • Preheat the oven to 180°C (355°F).

  • Sprinkle with a little oregano, drizzle with a bit of olive oil and put them in the oven.

  • Bake for 10 minutes or until golden brown.

  • When you take them out of the oven, place them on a rack so they stay crispy.

Tips:

  • This appetizer can be eaten warm or cold. If you decide to reheat it (in the oven or microwave) be careful not to let them get soft.

  • If you don’t like this “filling,” you can swap it for any other flavor — even sweet.

Pics and Cakes

December 4, 2012 · 2 min · Cesmm

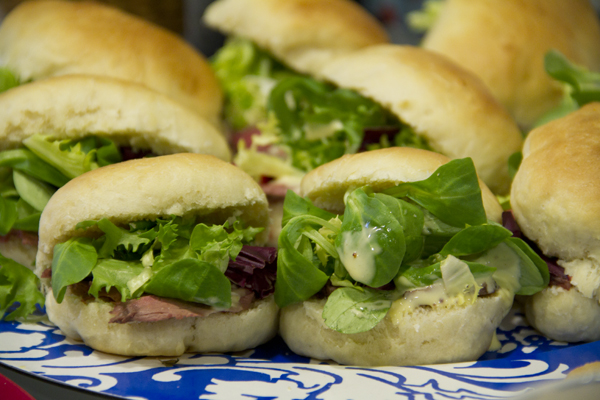
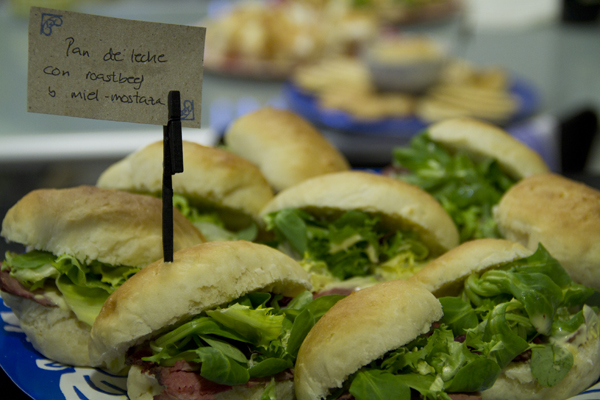
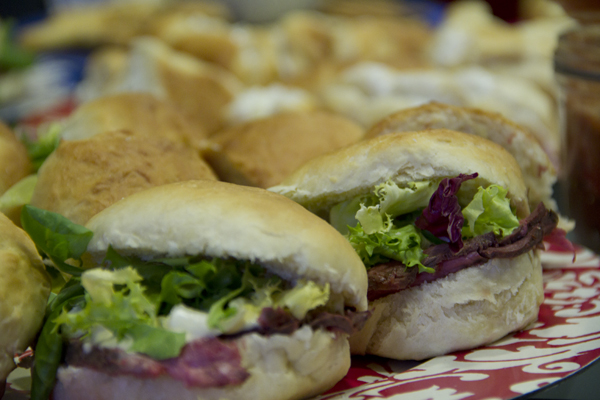
Mini Roast Beef and Arugula Sandwiches

Not too long ago we showed you how to make some delicious milk bread buns. They’re the perfect base for these tasty little roast beef sandwiches with arugula and honey mustard. It might sound fancy, but it really isn’t. Roast beef, originally from English cuisine, has become so common in Spain that even the word has been adapted into Spanish — our Royal Academy now accepts “rosbif” without any objections.

Pics and Cakes

What do we need?

To make 16 little buns, check here.

For the filling:

  • 800 g (1.75 lb) veal loin

  • Dried rosemary

  • Oregano

  • Salt and pepper

  • 1 teaspoon Worcestershire sauce

  • 2 tablespoons olive oil

  • 1 bag of arugula

  • Honey mustard sauce

How do we make it?

  • Preheat the oven to 200°C (390°F).

  • In a bowl, mix the rosemary, oregano, pepper, and salt with a couple of tablespoons of olive oil and the Worcestershire sauce.

  • Brush the meat with the mixture and sear it in a hot pan so the outside browns.

  • Place the loin on a baking tray and put another tray underneath filled with water.

  • Bake for about 30 minutes.

  • Once the time is up, wrap the meat in aluminum foil and let it cool.

  • Meanwhile, wash the arugula and set aside.

  • When the meat is cold, cut it into thin slices.

  • Assemble the little sandwich by slicing the bun in half and adding the roast beef, arugula, and honey mustard sauce.

Pics and Cakes

Tips:

  • Following the milk bread recipe, you can change the final shape. We went for round buns instead of making small cuts in the dough to give them the classic milk bread look.

  • We bought veal loin, but to make a roast (to roast) beef, any other cut works as long as it’s big enough to brown on the outside while staying rare on the inside.

Pics and Cakes

[English version] SANDWICHES OF ROASTBEEF, ROCKET SALAD AND HONEY-MUSTARD* *For the milk bread buns follow this previous recipe. Ingredients:

  • 800 g veal loin

  • Rosemary

  • Oregano

  • Salt and pepper

  • 1 tsp Perrins sauce

  • 2 tbsp olive oil

  • 1 bag of rocket salad

  • Honey-mustard sauce

  • Preheat oven at 200º C.

  • *In a bowl mix the rosemary, oregano, salt, pepper, olive oil and Perrins sauce. *

  • Brush the meat with this mixture and place it on a very hot pan and sear it.

  • Place the prepared meat into a baking tray and place another tray (or any other container) full of water.

  • Roast for 30 minutes.

  • Take it out from the oven and wrap the whole piece into aluminium foil. Let it cool.

  • Wash rocket salad and set aside.

  • When the roastbeef is cold, cut into thin slices.

  • Prepare the sandwich: open the bread, place roastbeef, rocket salad and honey-mustard sauce.

  • Tips:- You can choose the size and shape of your bread buns when making them.- We have used veal loin but you can use any big piece of meat that you can roast and the result is golden brown in the outside and tender in the inside. *

October 30, 2012 · 3 min · Cesmm

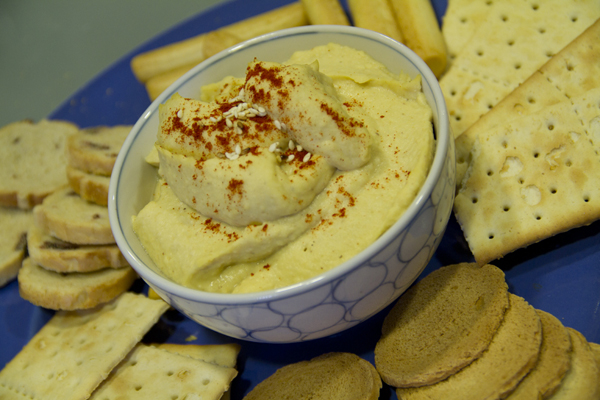
Hummus

When Palstelera first told me she was going to make hummus, I had no idea what she was even talking about. She had tried it in Edinburgh and told me it was some kind of chickpea purée. Chickpea purée? Well, yes — and a really tasty one. Since then we’ve made it loads of times for parties, because it’s a super easy appetizer to put together and it’s absolutely delicious.

Pics and Cakes

What do we need?

  •   1 large can of cooked chickpeas
    
  •   2-3 cloves of garlic
    
  •   1 tablespoon of tahini (sesame seed paste)
    
  •   1 teaspoon of ground cumin
    
  •   1 teaspoon of salt
    
  •   100 ml (scant 1/2 cup) of olive oil
    
  •   100 ml (scant 1/2 cup) of lemon juice
    
  •   Sweet paprika
    

How do we make it?

  • Rinse and drain the chickpeas.

  • Add all the ingredients except the paprika to a blender jug and blend until smooth.

  • Once it’s ready, taste and adjust the salt if needed.

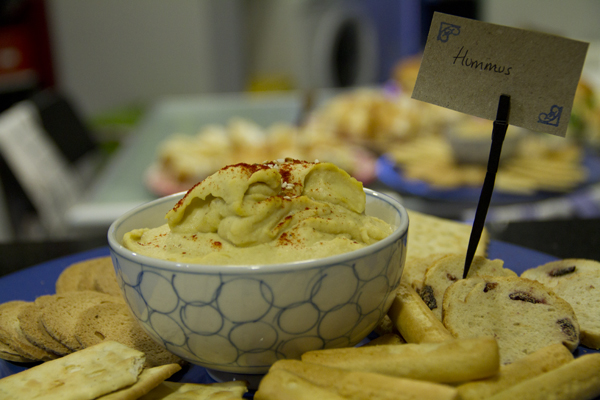
  • Serve in a bowl, sprinkle a little sweet paprika on top and add a drizzle of olive oil.

  • Serve with breadsticks, grissini, toasted bread, pita, etc.

Tips:

  • If you’d rather, you can swap the canned chickpeas for some you cook fresh for the occasion, or leftovers from a delicious Cocido Madrileño/Maragato.

  • If it turns out too thick, you can add a bit more lemon juice or a splash of water.

    Pics and Cakes [English version] HUMMUS **Ingredients:- 1 can of chickpeas

  • 2-3 cloves of garlic

  • 1 tsp tahini (sesamo seed paste)

  • 1 tsp cumin- 1 tsp salt- 100 ml olive oil

  • 100 ml lemon juice

  • Paprika

  • Wash and drain chickpeas.

  • Put all the ingredients into a bowl except sweet paprika and combine them in blender or food processor.

  • Taste and add some extra salt if need it.

  • Place in a serving bowl, and add a small amount of paprika and a bit of olive oil.

  • Serve with small toasts, grilled bread, pita bread, etc.

    Tips:- Instead of canned chickpeas you can boil chickpeas for this recipe or use some you have from previous stews.

  • If the hummus is too dry, you can add some more lemon juice or even a bit of water.


Comments

zordor (2012-09-13 18:14:16):

Mmmh so good! Seriously, you didn’t know it? Come on, you really didn’t?! Hehe, that said… it gives you some terrible farts :P

September 13, 2012 · 2 min · Cesmm

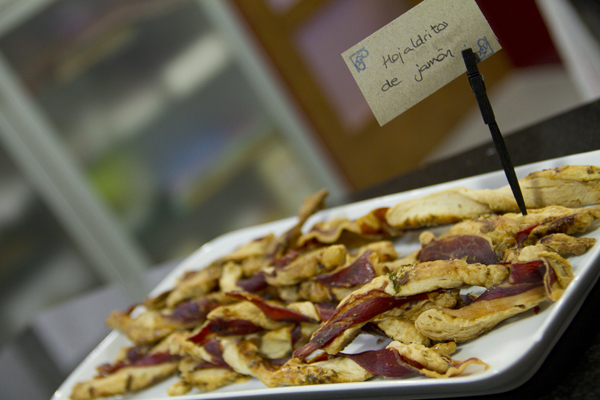
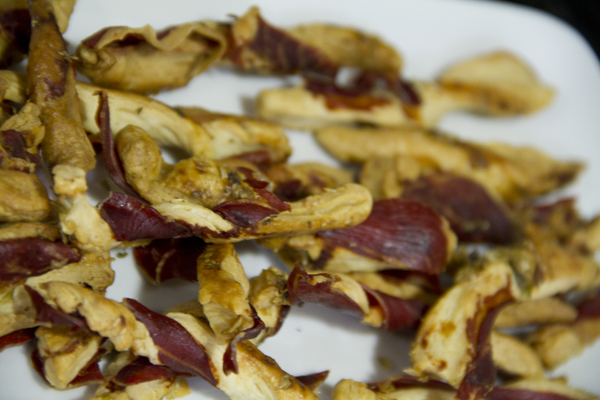
Ham Puff Pastry Twists

Knowing how little my dad cares for innovation in food (what he calls “chuminás” — fancy nonsense), whenever we put together appetizers for birthdays or special celebrations we always have to play the card of foods he considers “essentials”. So for my last birthday we went looking for appetizers he might actually like, and over at Directo al Paladar we found this one.

Pics and Cakes

What do we need?

  •   1 sheet of refrigerated puff pastry
    
  •   100 grams (3.5 oz) of serrano ham
    
  •   Oregano
    
  •   1 egg
    

How do we make it?

  • Preheat the oven to 200°C (390°F).

  • Cut the puff pastry sheet into strips roughly 1.5 cm (0.6 in) wide and 10 cm (4 in) long.

  • Brush them with beaten egg so they brown nicely in the oven, sprinkle oregano on top, and flip them over.

  • Cut the ham into strips the same length as the pastry and lay them on top.

  • Twist the sticks with the ham one by one. To do this, grab each strip by the ends and turn in opposite directions. Pop them in the oven for about 15 minutes.

Tips:

  • Every oven is its own beast, so temperature and time may vary. We recommend keeping a close eye on them, especially at the start, so the heat stays high but the pastry doesn’t get scorched.
  • The first time we made these we threw in two new versions: some with just oregano, and others with aged cheese. They were all delicious. That said, the serrano ham ones don’t need it, but for the others add a pinch of salt and you’ll see how much better they get.

Pics and Cakes

August 9, 2012 · 2 min · Cesmm

Stuffed Crescent Rolls

Did you know that croissant in French means crescent moon? Literally, it means ‘waxing,’ which is the phase of the moon we commonly call a crescent. Well, with that same shape but a completely different dough and a savory filling, we present this easy dish. We rescued the recipe from a Thermomix Christmas magazine and thought it would be a great idea to offer as an afternoon snack at home or to pack along on a trip and enjoy during a roadside stop. For those of you who are wary of complicated gadgets and kitchen robots, don’t worry — we made these with our own little hands and they turned out wonderfully.

Pics and Cakes

What do we need?

  •   400-500 g (3.25-4 cups) pastry flour
    
  •   250 g (1 cup) quark cheese
    
  •   250 g (1 cup / 2 sticks) cold butter
    
  •   1/2 teaspoon salt
    
  •   1 packet baking powder
    
  •   1 beaten egg (for glazing)
    

For the filling:

  •   100 g (3.5 oz) cooked ham
    
  •   200 g (7 oz) Emmental cheese
    
  •   2 tomatoes
    
  •   Dried oregano
    

How do we make it?

  • Cut the butter into small pieces and mix with the rest of the ingredients. Start by stirring with a fork and then finish kneading with your hands.

  • Form the dough into a ball, wrap it in cling film and let it rest in the fridge for 30 minutes.

  • Preheat the oven to 180°C (355°F).

  • Divide the dough in two and roll out each piece with a rolling pin into a thin circle (about 3 mm / 1/8 inch).

  • Using a knife or pizza cutter, cut 8 triangular portions (just like a pizza).

  • Place a bit of cooked ham and cheese on each portion and roll them up starting from the wide end and finishing at the tip to give them that croissant shape.

  • Slice the mozzarella and tomato into rounds and then cut those in half. Use them to fill the portions from the second circle of dough, adding a bit of oregano. Roll them up the same way.

  • Place all the croissants on a baking tray lined with parchment paper and brush them with beaten egg.

  • Bake for about 20 minutes.

Tips:

  • You can vary the filling however you like. In fact, the original recipe was just ham and cheese, and we introduced the tomato-mozzarella variety and liked it even more.
  • The dough isn’t particularly salty, so why not try a sweet filling?

Pics and Cakes

[English version] FILLED CROISSANTS **Ingredients:-400-500 g flour

  • 250 g quark cheese

  • 250 g butter

  • 1/2 tsp salt

  • 1 package baking powder

  • 1 egg

  • Dice the butter and mix with the rest of ingredients. First stir well by using a fork and then use your hands.

  • Make a ball with the dough, wrap it in cling film and place in the fridge for 30 min.

  • Preheat oven at 180ºC

  • Divide the dough into two pieces and roll out to two thin circles (3 mm).

  • Cut each circle into 8 portions (like pizza slices).

  • Put some york ham and cheese over each slice and roll it from the biggest side to the narrowest to create the croissant shape.

  • Slice mozzarella and tomato and then cut into halves. Use them and oregano to fill the second circle of dough. Roll it in the same way.

  • Place the croissants on a baking tray covered by baking paper. Glaze croissants with egg.

  • Bake for 20 min approximately.

    Tips:- You can vary the filling. The original recipe was done with ham and cheese and we decided to create the mozarella-tomato flavour and we liked it even more! - The dough itself is not really salty. So why not a sweet filling?


July 25, 2012 · 4 min · Palstelera