Dorayaki

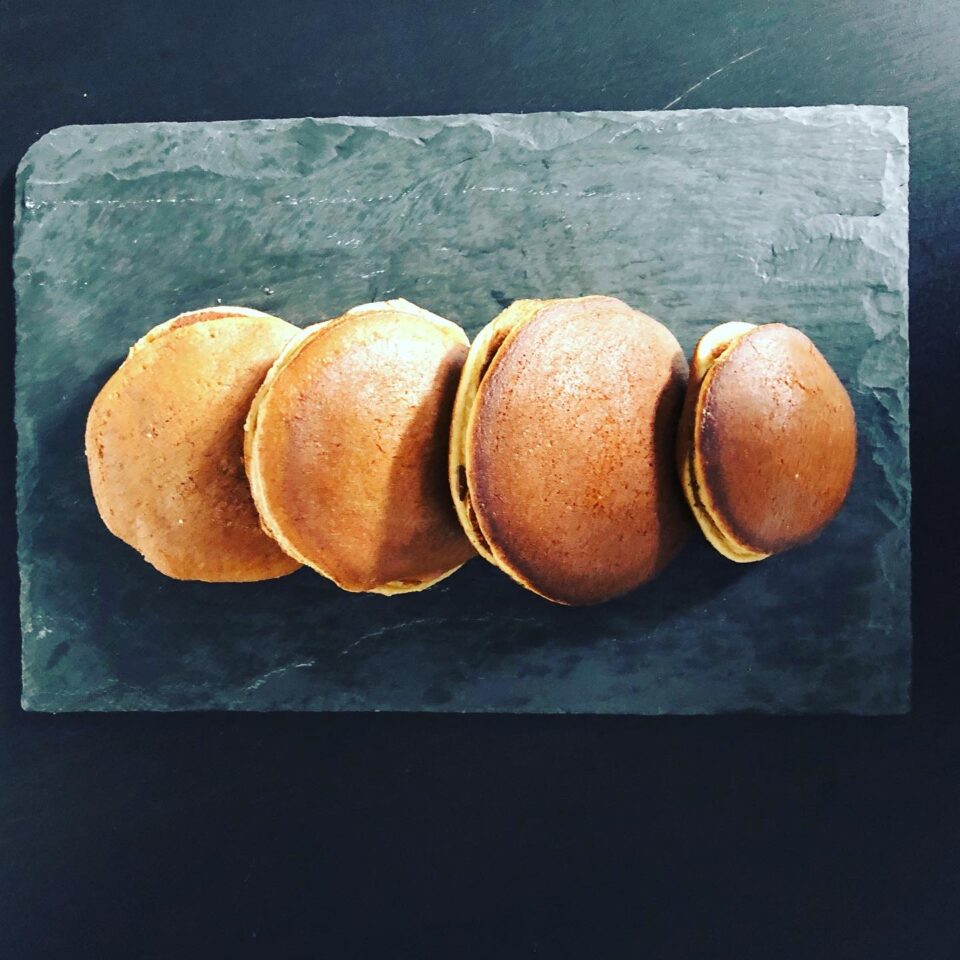
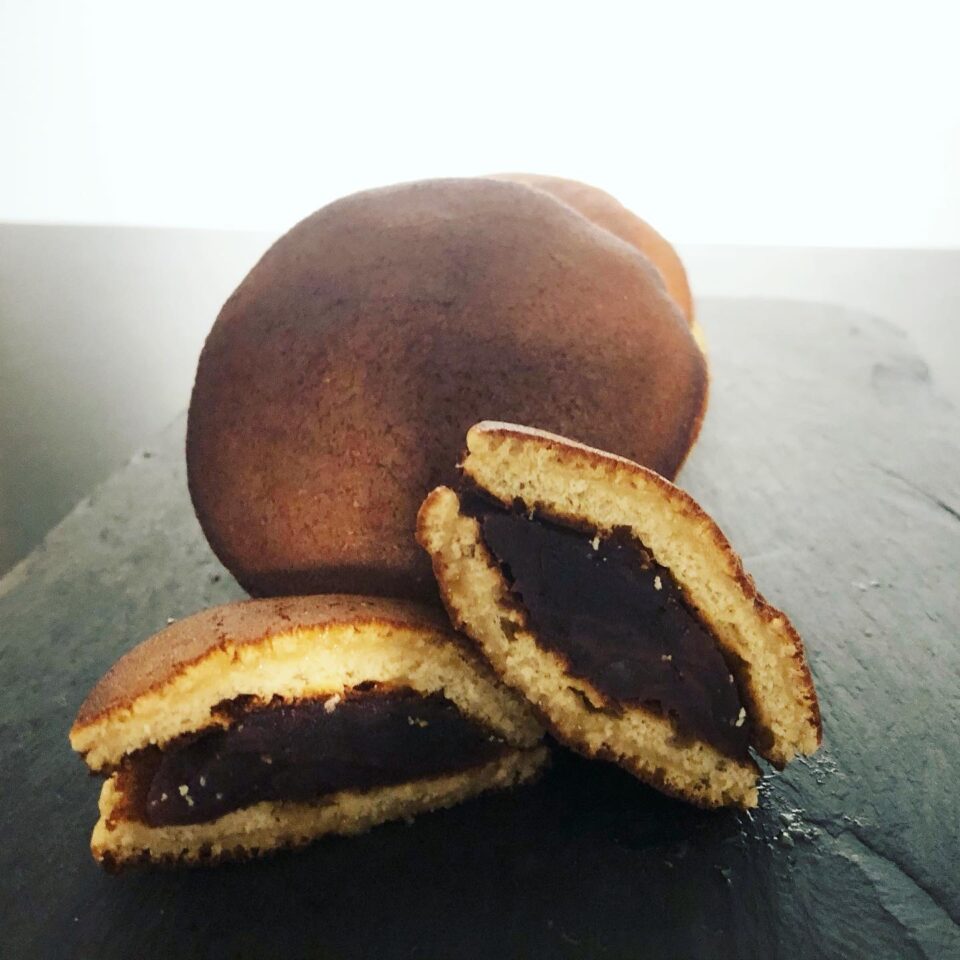
Dorayaki are a traditional Japanese sweet that you probably know as the favorite food of the cartoon character Doraemon. They're a type of pancake cooked in a pan and sandwiched together (kind of like a Codan shell, but a bit thicker). The traditional filling is anko, a sweet paste made from azuki beans and sugar. Anko is used in lots of Japanese desserts, so if you've never tried it, I encourage you to give it a chance — even if the words "bean" and "sweet" don't sound too tempting together in the same sentence.

This recipe comes from Masaharu Tada, the chef at the residence of the Japanese Ambassador in Spain.

Ingredients

Makes 5 units (that is, 10 pancakes)

  • 1.5 g (¼ tsp) baking soda
  • 15 ml (1 tbsp) water
  • 2 eggs
  • 6 g (1 tsp) mirin (I didn't have any and substituted white wine)
  • 15 g (1 tbsp) honey
  • 80 g (⅔ cup) powdered sugar
  • 100 g (¾ cup) flour
  • 300 g (10.5 oz) anko for the filling
Pics and Cakes

Method

  1. Mix the baking soda with the water until fully dissolved. It's better if the water is lukewarm to make this step easier.
  2. Beat the eggs in a bowl with a whisk and add the mirin, honey, and sugar, then whisk again.
  3. Once everything is combined, add the water and baking soda mixture and whisk again.
  4. Add the flour and whisk until you get a smooth, lump-free batter — but be careful not to overmix.
  5. To make sure the batter has no lumps at all, pass it through a strainer or sieve.
  6. Let the batter rest for 30 minutes so that the baking soda kicks in and you get a much fluffier, more homogeneous batter.
  7. Once the resting time is up, heat a pan, brush on a little vegetable oil, and pour a small amount of batter in the center — it'll spread on its own into a perfect circle.
  8. When bubbles appear on the surface, it's time to flip the pancake and cook the other side.
  9. Repeat with the rest of the batter.
  10. Once all the pancakes are done, all that's left is to pair them up and put the anko filling inside. The best way is to roll the anko into a ball, place it on one pancake, cover with its pair, and gently press them together so they close without breaking.
Pics and Cakes

PiC Tips

  • If you don't have or don't like anko, you can fill them with chocolate cream or pastry cream. Anko is the original version and, besides being delicious, it's easier to handle for this recipe since it's a more compact filling.
  • The heat of the pan will depend on your stove. You need to keep an eye on them so the dorayaki turn out golden on the outside but well cooked on the inside. I made them on medium heat on an induction cooktop.
  • It's a fairly sweet batter and since the anko is also sweet, I think you could get away with reducing the amount of powdered sugar a little.
28 de septiembre de 2020 · 3 min · Palstelera

Dorayaki

Los dorayaki son un dulce típico de Japón que es probable que conozcas por ser una de las comidas favoritas del personaje de dibujos Doraemon. Se trata de un tipo de tortitas hechas en la sartén y que se unen a modo de sándwich (como si fuera una concha Codan pero más gordita). El relleno tradicional es el anko que es una pasta dulce elaborada a partir de judías azuki y azúcar. El anko se utiliza en muchos postres japoneses así que si no lo has probado nunca, te animo a que le des una oportunidad aunque las palabras «judía» y «dulce» no te resulten muy tentadoras en la misma frase.

Esta receta es de Masaharu Tada, el chef de la residencia del Embajador de Japón en España.

Ingredientes

Salen 5 unidades (es decir, 10 tortitas)

  • 1,5 g de bicarbonato
  • 15 ml de agua
  • 2 huevos
  • 6 g de mirin (yo no tenía y lo sustituí por vino blanco)
  • 15 g de miel
  • 80 g de azúcar glas
  • 100 g de harina
  • 300 g de anko para el relleno
Pics and Cakes

Elaboración

  1. Mezclar el bicarbonato con el agua hasta que se disuelva del todo. Es preferible que el agua esté tibia para que te resulte más fácil este paso.
  2. Batir los huevos en un bol con unas varillas y añadir el mirin, la miel y el azúcar y batir de nuevo.
  3. Cuando esté todo integrado, añadir la mezcla de agua y bicarbonato y batir de nuevo.
  4. Añadir la harina y batir hasta obtener una masa lisa sin grumos pero, cuidado, que no queremos batir en exceso la mezcla.
  5. Para asegurarnos de que la masa no tiene ningún grumo hay que pasarla por un colador o tamiz.
  6. Dejar reposar la masa durante 30 minutos para que así el bicarbonato haga efecto y obtengamos una masa mucho más esponjosa y homogénea.
  7. Pasado el tiempo de reposo, ponemos a calentar una sartén, untamos un poco de aceite vegetal y echamos un poco de masa en el centro, ella sola se expandirá un poco hasta formar un círculo perfecto.
  8. Cuando salgan burbujas en la superficie es el momento de voltear la tortita y cocinar por el otro lado.
  9. Repetir con el resto de la masa.
  10. Una vez hechas todas las tortitas, solo queda emparejarlas y poner en su interior el relleno de anko. Para ello lo mejor es hacer una bola con el anko, ponerla sobre una de las tortitas, cubrir con su pareja e ir aplastándolas suavemente para que se cierre sin romperse.
Pics and Cakes

Consejos PiC

  • Si no tienes o no te gusta el anko puedes rellenarla con una crema de chocolate o crema pastelera. El anko es la versión original y además de estar delicioso es más manejable para esta receta por tratarse de un relleno más compacto.
  • El calor de la sartén va a depender de tu cocina. Tienes que ir vigilando que los dorayaki te queden dorados por fuera pero bien cocinados por dentro. Yo los hice a una temperatura media en la placa de inducción.
  • Es una masa bastante dulce y como el anko también lo es, creo que admitiría reducir un poco la cantidad de azúcar glas.
28 de septiembre de 2020 · 3 min · Palstelera

American Pancakes

And this is the exact title of recipe number 1029 in the book «1080 Recetas» by Simone Ortega, a classic of Spanish kitchens. It really can't get any simpler or more delicious. There are loads of pancake variations out there, but let's start with the basics and just enjoy ;-).

Pics and Cakes
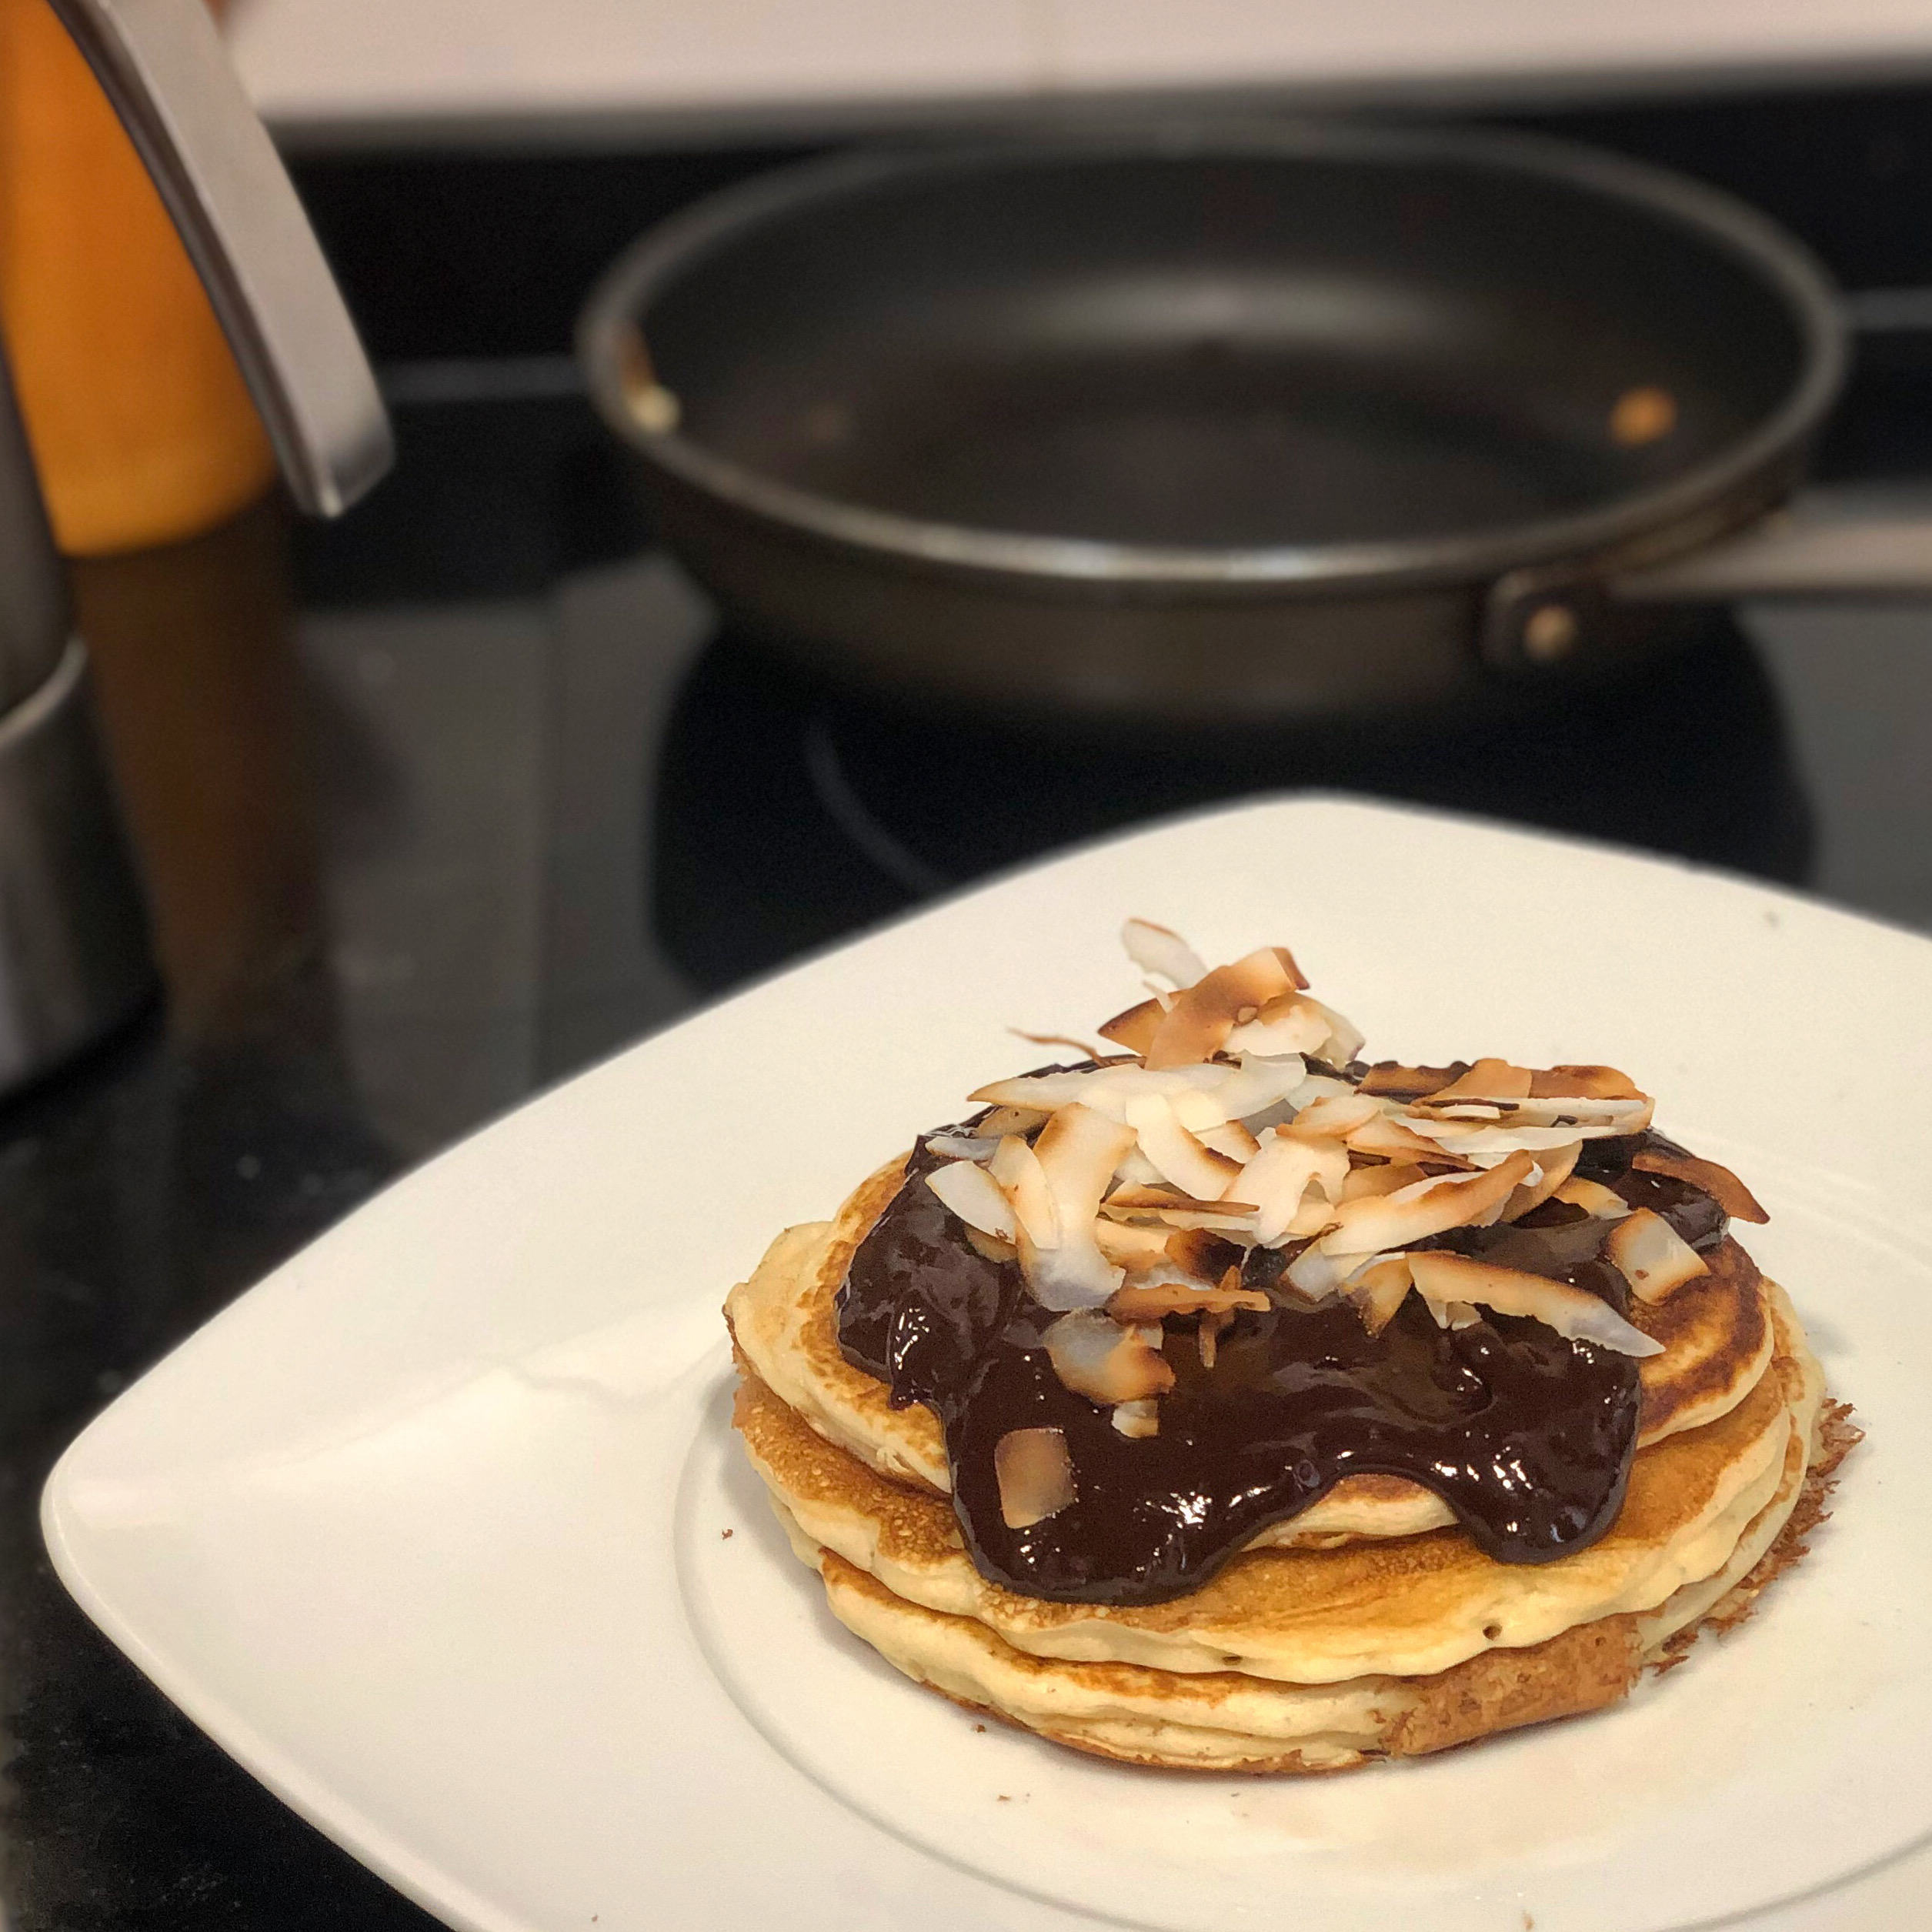
Pancakes with dark chocolate and toasted coconut

Ingredients

  • 200 g (1 ⅔ cups) flour
  • ½ teaspoon of salt (in Simone's words: «the mocha-spoon kind», so really tiny)
  • 3 teaspoons of Royal-type baking powder
  • 1 tablespoon of sugar
  • 1 tablespoon of olive oil
  • 2 eggs
  • 1 glass (a water glass) of cold milk (about 200 ml / ¾ cup + 1 tbsp)

Method

Here I'm not going to follow the traditional recipe, I'm going to make it way easier for you, so you can whip up some pancakes even before heading off to work.

  1. Put all the ingredients in a blender jug or bowl and blitz them with a hand blender or any kitchen robot until you get a smooth, even batter.
  2. Heat a pan and, when it's nice and hot, pour a bit of the batter in the center. It'll form a perfect circle. Cook it over medium heat.
  3. When you see bubbles forming all over the surface, that's the moment to flip it with a spatula and cook it for a similar time on the other side.
  4. Repeat with all the batter.
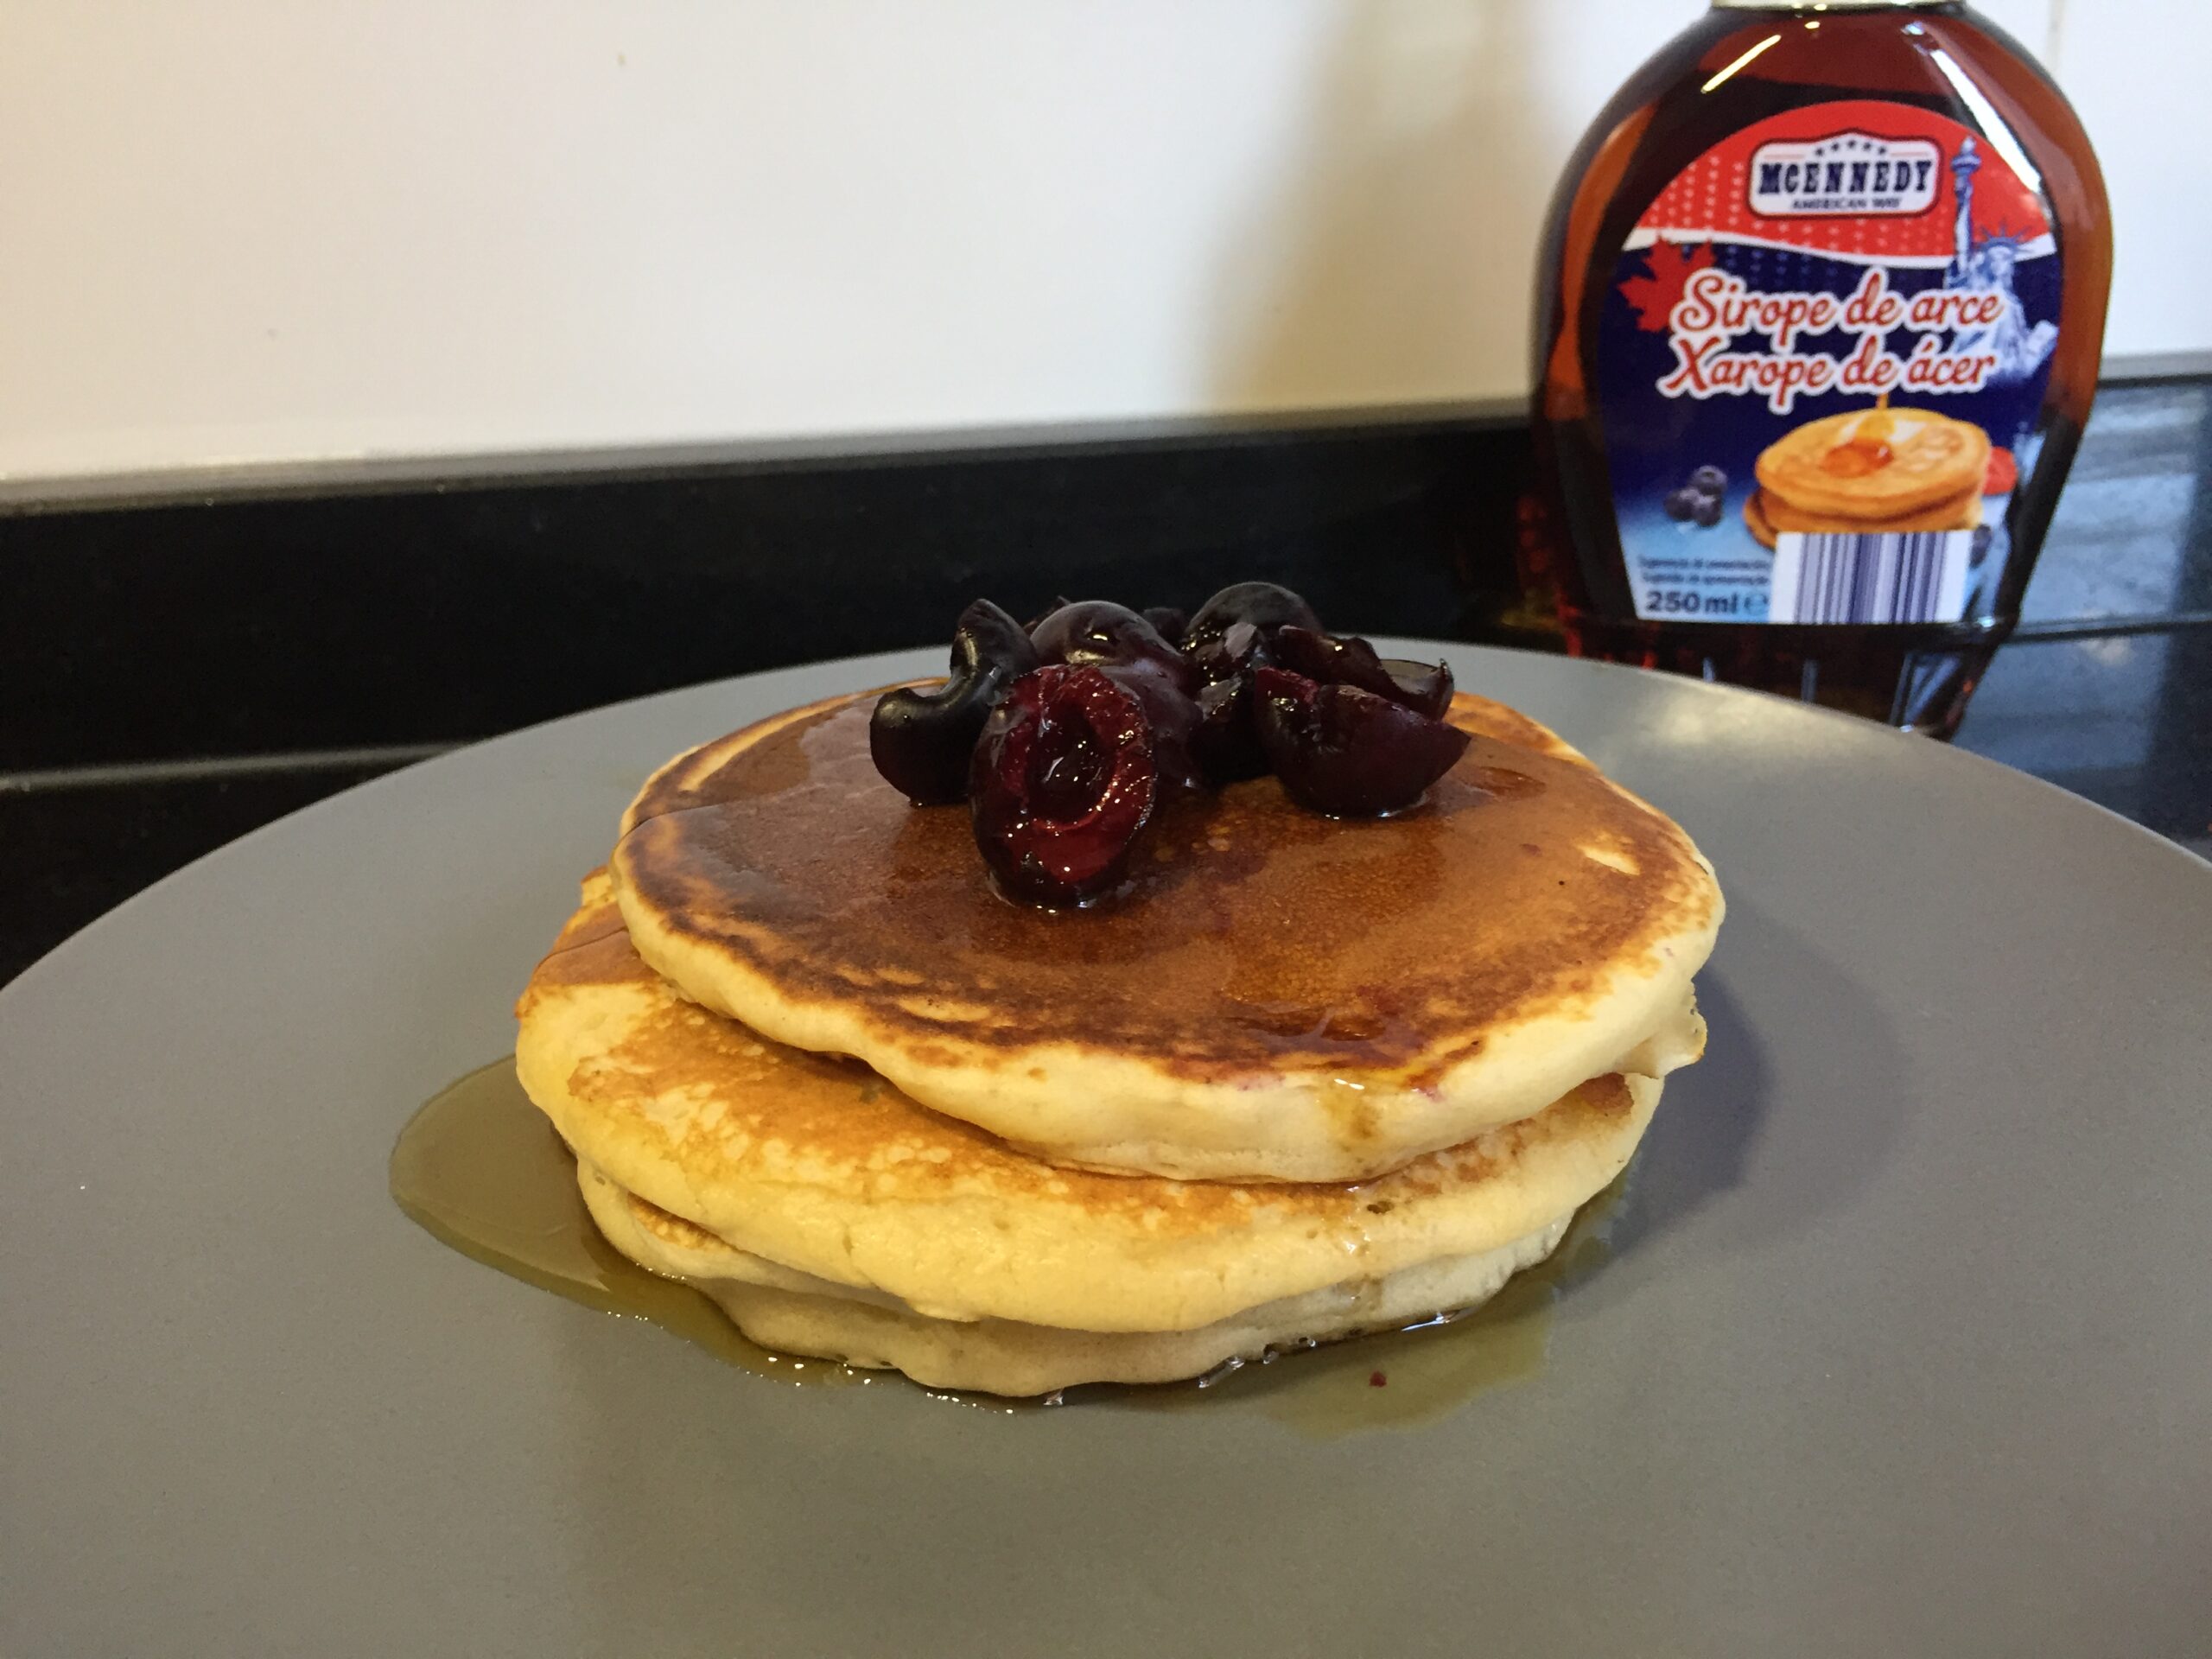
  5. Serve with syrup, jam, chocolate, fruit, or whatever you like best.

PiC Tips

  • If you don't quite trust your pan's non-stick coating, you can add a little butter or oil to keep them from sticking.
  • If the olive oil flavor is too strong for you, you can swap it for sunflower oil.
  • If you don't want to make all the batter at once, you can keep the raw batter in the fridge and make the rest of the pancakes the next day (two days of guaranteed happiness). Or you can just halve the recipe directly (it divides easily).
Pics and Cakes
Pancakes with cherries and maple syrup
27 de septiembre de 2020 · 2 min · Palstelera

Tortitas americanas

Y este es el título exacto que lleva la receta número 1029 del libro «1080 Recetas» de Simone Ortega, un clásico de las cocinas españolas. No puede ser una receta más sencilla y deliciosa. Variantes de tortitas hay muchas pero empecemos por los básicos y a disfrutar ;-).

Pics and Cakes
Tortitas con chocolate negro y coco tostado

Ingredientes

  • 200 gr. de harina
  • ½ cucharadita de sal (en palabras de Simone: «de las de moka», así que pequeñita de verdad)
  • 3 cucharaditas de levadura tipo Royal
  • 1 cucharada sopera de azúcar
  • 1 cucharada sopera de aceite de oliva
  • 2 huevos
  • 1 vaso (de los de agua) de leche fría (200 ml aprox.)

Elaboración

Aquí no voy a seguir la receta tradicional sino que te lo voy a poner muchísimo más fácil, para que te puedas hacer unas tortitas incluso antes de irte a trabajar.

  1. Poner todos los ingredientes en un vaso batidor o bol y batirlos con la batidora de mano o con cualquier robot de cocina hasta obtener una masa fina y homogénea.
  2. Calentar una sartén y cuando esté bien caliente, echar un poco de la masa en el centro. Se formará un círculo perfecto. Cocínala a fuego medio.
  3. Cuando veas que se han formado burbujas en toda la superficie es el momento de darle la vuelta con una espátula y cocinarla un tiempo similar por el otro lado.
  4. Repetir con toda la masa.
  5. Acompañar de sirope, mermelada, chocolate, fruta o lo que más te guste.

Consejos PiC

  • Si no confías en la antiadherencia de tu sartén, puedes poner un poco de mantequilla o aceite para evitar que se peguen.
  • Si te resulta muy fuerte el sabor del aceite de oliva puedes sustituirlo por girasol.
  • Si no quieres hacer toda la masa puedes guardarla cruda en la nevera y hacer el resto de tortitas al día siguiente (dos días de felicidad asegurada). O también puedes optar por hacer directamente la mitad de cantidades (receta fácilmente divisible).
Pics and Cakes
Tortitas con cerezas y sirope de arce
27 de septiembre de 2020 · 2 min · Palstelera

Bollos suizos

Hay recetas que las ves y mueres de ganas por hacerlas alguna vez en tu vida. El resultado de las fotos en las webs es tan perfecto que te resulta imposible creer que puedas conseguir que te quede algo, al menos, similar. Pues bien, eso me pasó a mí con estos increíbles bollos suizos del blog de María Lunarillos y he de decir que lo conseguí: quedaron sencillamente espectaculares. Os pongo la receta tal y como yo la hice, ya que los tiempos de levado difieren mucho de la receta original. Vamos, que no es para unas prisas pero merece la pena…

suizos1


¿Qué necesitamos?

  • 500 g de harina de fuerza
  • 250 g de leche entera
  • Dos huevos
  • 90 g de azúcar
  • 5 g de sal
  • 3 g de levadura seca de panadería
  • 80 g de mantequilla pomada
  • Un huevo batido para pintar
  • Azúcar y agua para decorar

 ¿Cómo lo hacemos?

  1. En primer lugar, disolvemos la levadura en 100 g de leche templada y añadimos 100 g de harina de fuerza. Mezclamos bien con una cuchara de palo, tapamos el bol y dejamos que fermente hasta que le salgan burbujas.
  2. Tras el tiempo necesario de reposo, añadimos todos los demás ingredientes, excepto la mantequilla. Empezamos mezclando con la cuchara de madera y finalmente con las manos. Dejamos reposar 10 minutos y amasamos de nuevo simplemente cogiendo un pellizco de la masa desde fuera y plegándolo hacia adentro. Repetimos este tiempo de reposo y pequeño amasado otras dos veces. Notaréis que la masa se vuelve menos pegajosa y más elástica.
  3.  Añadimos la mantequilla en pomada y volvemos a amasar. En este caso yo lo hice con las varillas de amasado pero puede hacerse perfectamente a mano. Tiene que quedar una masa bastante lisa.
  4. Untamos un bol limpio con un poco de aceite de girasol y colocamos la masa tapada con film transparente. Dejamos reposar hasta que doble el volumen. Como hacía bastante fresco en mi cocina, yo la tuve toda la noche (en total, la dejé levando unas 20 horas).
  5. Cuando haya doblado el volumen, sacamos la masa sobre la encimera enharinada y la aplastamos con las manos para quitarle todo el aire. Vamos formando bolitas de 60 gramos.
  6. Para formar las bolas perfectas, las pellizcamos para formar una especie de hatillo y luego las boleamos. Como una imagen vale más que mil palabras, podéis ver esta técnica en el vídeo de María Lunarillos.
  7. Dejamos reposar las bolas en una bandeja de horno con papel vegetal tapadas con film transparente hasta que doblen su volumen. En mi caso, las dejé casi 4 horas y no llegaron a doblar el volumen pero fue suficiente.
  8. Precalentamos el horno a 210ºC y vamos pintando los bollos con huevo con cuidado de no aplastarlos. Los pintamos dos veces dejando unos 10 minutos entre mano y mano para que se seque ligeramente la película formada por el huevo.
  9. Con un cuchillo de sierra muy afilado hacemos un corte profundo en el centro y echamos azúcar humedecida con agua (como la que usamos para los roscones de reyes).
  10. Metemos en el horno en la parte más baja (calor arriba y abajo sin aire), bajamos la temperatura a 200ºC y horneamos 12 minutos. Por último, horneamos 1 minuto más con el aire encendido.
  11. Sacamos y dejamos enfriar todo lo que vuestras ansias por hincarle el diente os permitan.

suizos2

Consejos:

– No es una receta difícil pero requiere tiempo y paciencia. Es preferible fiarse del aspecto de la masa que de los tiempos que os indico, ya que dependiendo de la temperatura ambiente y otros factores estos pueden variar considerablemente.

– En muchas recetas hay ingredientes fácilmente sustituibles por otros pero en esta ocasión, no podéis cambiar la harina de fuerza por harina normal ni la levadura de panadería por levadura química.

suizos3

 
17 de noviembre de 2017 · 3 min · Palstelera

Swiss Buns

There are recipes you see and immediately you're dying to try at least once in your life. The results in the photos online look so perfect it seems impossible you'll ever get something even remotely similar. Well, that's exactly what happened to me with these incredible Swiss buns from María Lunarillos's blog, and I have to say I pulled it off: they came out simply spectacular. I'm sharing the recipe just as I made it, since the proofing times are quite different from the original. Be warned, this isn't one for when you're in a rush, but it's totally worth it…

suizos1

What do we need?

  • 500 g (4 cups) bread flour
  • 250 g (1 cup) whole milk
  • Two eggs
  • 90 g (about 1/2 cup) sugar
  • 5 g (1 tsp) salt
  • 3 g (1 tsp) active dry yeast
  • 80 g (about 1/3 cup) softened butter
  • One beaten egg for glazing
  • Sugar and water for decorating

How do we make it?

  1. First, dissolve the yeast in 100 g (about 1/3 cup + 1 tbsp) of warm milk and add 100 g (about 3/4 cup) of bread flour. Mix well with a wooden spoon, cover the bowl, and let it ferment until you see bubbles forming.
  2. After the resting time, add all the other ingredients except the butter. Start mixing with the wooden spoon and finish with your hands. Let it rest for 10 minutes and knead again, simply pinching a bit of dough from the outside and folding it inward. Repeat this rest-and-quick-knead cycle two more times. You'll notice the dough becomes less sticky and more elastic.
  3. Add the softened butter and knead again. In my case I used the dough hooks on my mixer, but you can do it perfectly well by hand. You want to end up with a fairly smooth dough.
  4. Grease a clean bowl with a little sunflower oil and put the dough in, covered with plastic wrap. Let it rest until doubled in size. Since my kitchen was pretty cool, I left it overnight (about 20 hours of proofing in total).
  5. Once doubled, turn the dough out onto a floured countertop and press it down with your hands to release all the air. Form little balls of 60 g (about 2 oz) each.
  6. To get perfect balls, pinch them to form a sort of bundle and then roll them. Since a picture is worth a thousand words, you can see this technique in the video by María Lunarillos.
  7. Let the balls rest on a baking tray lined with parchment paper, covered with plastic wrap, until doubled in size. In my case, I left them for almost 4 hours and they didn't quite double, but it was enough.
  8. Preheat the oven to 210°C (410°F) and brush the buns with beaten egg, being careful not to flatten them. Brush them twice, leaving about 10 minutes between coats so the egg film dries slightly.
  9. With a very sharp serrated knife, make a deep cut down the center and sprinkle on sugar moistened with water (just like the kind we use for roscón de reyes).
  10. Place in the oven on the lowest rack (top and bottom heat, no fan), lower the temperature to 200°C (390°F), and bake for 12 minutes. Finish with 1 more minute with the fan turned on.
  11. Take them out and let them cool as long as your cravings to sink your teeth into one will let you.

suizos2

Tips:

– It's not a difficult recipe but it requires time and patience. It's better to trust the look of the dough than the times I give you, since depending on the room temperature and other factors they can vary considerably.

– In many recipes there are ingredients you can easily swap for others, but in this case, you cannot replace the bread flour with regular flour or the active dry yeast with baking powder.

suizos3

17 de noviembre de 2017 · 4 min · Palstelera

Bundt cake de cacao puro

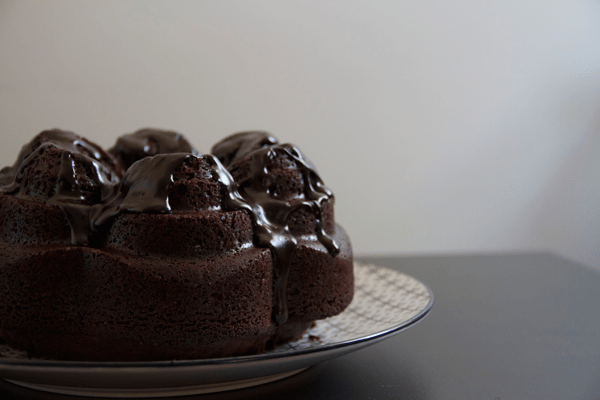
Para empezar bien el fin de semana, las vacaciones, celebrar las fiestas madrileñas de la Paloma… cualquier excusa es buena para hacer este maravilloso y esponjoso bizcocho de cacao. Esta receta la saqué del blog de Alma Obregón y solo hice unas ligeras variaciones (Cesmm siempre me dice que soy incapaz de seguir una receta al pie de la letra… ¿Será verdad?). Al hacerse con cacao puro en vez de con chocolate me parece menos pesado y el sirope de encima resulta perfecto para los amantes del chocolate amargo y no empalagoso. Bundt cake son los bizcochos en forma de anillo con un agujero en medio. Aunque técnicamente solo son los de la marca Nordic Ware® se suelen llamar así a todos los que tienen esta forma. Si queréis conocer más sobre su historia e incluso cuándo se celebra su día internacional, podéis leerlo aquí.

bundt

¿Qué necesitamos?

  • 125 g de mantequilla
  • 2 huevos
  • 250 ml de leche
  • 360 g de azúcar blanco
  • 60 g de cacao puro sin azúcar (yo uso de la marca Valor)
  • 260 g de harina
  • 1/2 cucharadita de bicarbonato sódico
  • 1/2 cucharadita de levadura química (tipo Royal)
  • 1 pizca de sal

Para el sirope:

  • 40 g de cacao puro sin azúcar
  • 3 cucharadas de azúcar blanco
  • 1 cucharada de maicena
  • 3 cucharadas de sirope de maíz
  • 120 ml de leche


 ¿Cómo lo hacemos?

  1. Precalentamos el horno a 180ºC.
  2. Derretimos la mantequilla en el microondas y una vez derretida completamente, añadimos los huevos y la leche y mezclamos bien. Es preferible que la leche esté a temperatura ambiente para que la mantequilla no se solidifique formando grumitos (si sucede, tampoco es grave, seguirá estando igual de delicioso).
  3. En otro bol mezclamos bien todos los ingredientes secos (harina tamizada, azúcar, bicarbonato, levadura y sal).
  4. A continuación añadimos la mezcla líquida a la seca y removemos bien con unas varillas hasta que tengamos una mezcla homogénea y sin grumos. No es necesario utilizar una batidora, con las varillas de mano queda perfecto.
  5. Vertemos la mezcla en el molde previamente engrasado (con un spray desmoldante o con mantequilla/margarina/aceite de girasol) y horneamos a 180ºC durante 45-50 minutos. Sabremos que está cocinado cuando al pinchar con una aguja de cocina, esta salga limpia.
  6. Lo dejamos reposar durante 20 minutos mínimo dentro del molde mientras preparamos el sirope.
  7. Para el sirope, mezclamos todos los ingredientes secos en un cazo pequeño y después añadimos el resto.
  8. Lo calentamos a fuego bajo y removemos constantemente hasta que vaya espesando y adquiera la consistencia deseada.
  9. Pasado el tiempo de reposo, desmoldamos el bizcocho y vertemos el sirope por encima. ¡A disfrutar!

bundt2

Consejos:

– El sirope de maíz lo podéis encontrar fácilmente en las tiendas de repostería creativa que hay cada vez por más sitios. Uno de los más típicos es el de la marca Karo y es el que yo usé para esta receta.

– Por tentador que sea hincarle el diente nada más sacarlo del horno, es muy importante dejarlo reposar. De lo contrario, se os romperá el bizcocho. Así que, paciencia…

– El sirope que hemos hecho es mejor verterlo caliente para que escurra bien por las paredes del bizcocho ya que solidifica muy rápido (nunca se quedará duro del todo pero sí como una especie de crema gomosa).

bundt3

12 de agosto de 2016 · 3 min · Palstelera

Pure Cocoa Bundt Cake

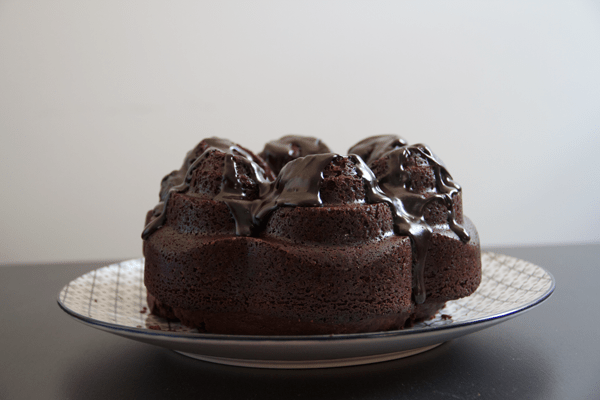
To kick off the weekend, the holidays, celebrate Madrid's La Paloma festivities… any excuse is a good one to bake this wonderful, fluffy cocoa cake. I got this recipe from Alma Obregón's blog and only made a few small tweaks (Cesmm always tells me I'm incapable of following a recipe to the letter… could it be true?). Made with pure cocoa instead of chocolate, it feels lighter, and the syrup on top is perfect for those who love bitter, not-too-sweet chocolate. Bundt cakes are those ring-shaped cakes with a hole in the middle. Technically, only Nordic Ware® brand cakes are bundt cakes, but the name is generally used for any cake of this shape. If you want to learn more about its history and even when its international day is celebrated, you can read about it here.

bundt

What do we need?

  • 125 g (4.4 oz / 1 stick + 1 tbsp) butter
  • 2 eggs
  • 250 ml (1 cup) milk
  • 360 g (1¾ cups) white sugar
  • 60 g (⅔ cup) unsweetened pure cocoa powder (I use the Valor brand)
  • 260 g (2 cups) all-purpose flour
  • ½ teaspoon baking soda
  • ½ teaspoon baking powder
  • 1 pinch of salt

For the syrup:

  • 40 g (scant ½ cup) unsweetened pure cocoa powder
  • 3 tablespoons white sugar
  • 1 tablespoon cornstarch
  • 3 tablespoons corn syrup
  • 120 ml (½ cup) milk


How do we make it?

  1. Preheat the oven to 180°C (350°F).
  2. Melt the butter in the microwave and once fully melted, add the eggs and the milk and mix well. It's best if the milk is at room temperature so the butter doesn't solidify into little lumps (if it does, it's not a big deal, the cake will be just as delicious).
  3. In another bowl, mix all the dry ingredients together (sifted flour, sugar, baking soda, baking powder, and salt).
  4. Then add the wet mixture to the dry one and stir well with a whisk until you have a smooth, lump-free batter. You don't need to use an electric mixer, a hand whisk works perfectly.
  5. Pour the batter into the previously greased pan (with a baking spray or with butter/margarine/sunflower oil) and bake at 180°C (350°F) for 45-50 minutes. You'll know it's done when a skewer inserted into the cake comes out clean.
  6. Let it rest for at least 20 minutes inside the pan while you prepare the syrup.
  7. For the syrup, mix all the dry ingredients in a small saucepan and then add the rest.
  8. Heat over low heat and stir constantly until it thickens and reaches the desired consistency.
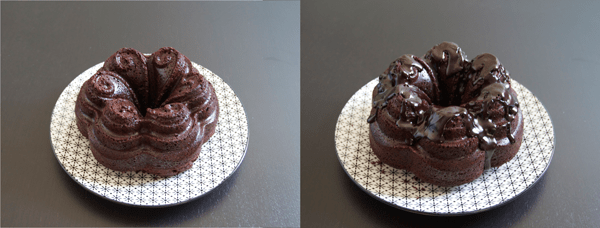
  9. Once the resting time is up, unmold the cake and pour the syrup over the top. Enjoy!

bundt2

Tips:

– You can easily find corn syrup in creative baking shops, which are popping up in more and more places. One of the most common brands is Karo, which is what I used for this recipe.

– As tempting as it is to dig in straight out of the oven, it's really important to let it rest. Otherwise, the cake will fall apart. So, patience…

– It's best to pour the syrup while it's still hot so it runs nicely down the sides of the cake, since it solidifies very quickly (it never goes completely hard, but it sets into a kind of gooey cream).

bundt3

12 de agosto de 2016 · 3 min · Palstelera

Petit suisse de fresa

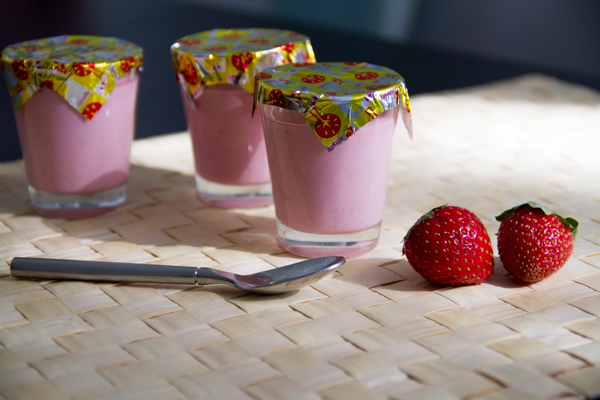
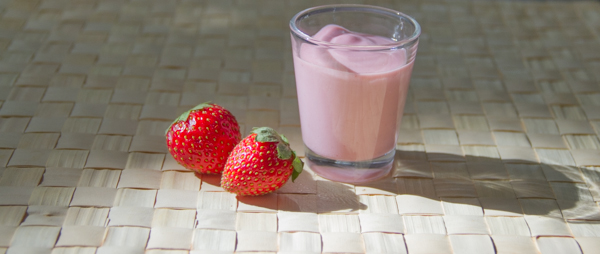
Para muchos es seguramente un recuerdo de infancia y apuesto que, de vez en cuando, tenéis la tentación de volver a comprarlos y comeros dos sin que vuestra madre os regañe. Pues bien, si os digo que los podéis hacer en casa y que el tamaño depende de vosotros, creo que ya estáis tardando en ir a comprar unos buenos fresones.

Pics and Cakes

¿Qué necesitamos?

  • 500 g de fresas
  • 250 g de queso crema (tipo Philadelphia)
  • 100 g de nata de montar
  • 150 g de azúcar
  • 2 cucharaditas de cuajada en polvo


 ¿Cómo lo hacemos?

  1. En primer lugar, lavamos las fresas y les quitamos el rabito. Las trituramos bien con la batidora hasta obtener un puré de fresas.
  2. En un vasito ponemos un poco del puré de fresas y disolvemos la cuajada. Reservamos.
  3. Ponemos el resto del puré de fresas en un cazo y lo calentamos hasta que hierva.
  4. Lo retiramos del fuego, añadimos la parte del puré donde habíamos disuelto la cuajada y lo removemos bien.
  5. Lo ponemos de nuevo al fuego, unos dos minutos sin dejar de remover. (CUIDADO en este paso ya que si ponéis muy fuerte el fuego  puede salpicaros el puré de fresas y quemaros. Os aseguro que el maldito es peor que el agua porque, al ser más denso, se te pega con ganas).
  6. Dejamos templar el puré un poquito y añadimos el resto de ingredientes (azúcar, queso y nata).
  7. Batimos todo bien con la batidora y vemos que ya habrá adquirido un bonito color de petit suisse.
  8. Solo nos queda verterlo en los vasitos que queramos servirlo y lo dejamos en la nevera toda la noche.

Pics and Cakes

Consejos:

– Nosotros utilizamos vasos de chupito, quedan muy bien y es una medida perfecta ya que tenemos que admitir que se trata de un postre consistente (ahora entiendo porque las madres no nos dejaban comer muchos…:-P). También podéis usar los vasos de cristal de yogures o cualquier vasito que tengáis.

– No puedo deciros a ciencia cierta cuánto tiempo nos pueden durar en la nevera pero con los ingredientes que lleva calculo que una semana aguantan sin problema.

 
4 de junio de 2015 · 2 min · Palstelera

Strawberry Petit Suisse

For many of you, this is probably a childhood memory, and I bet that every once in a while you get tempted to buy them again and eat two in a row without your mom scolding you. Well, if I tell you that you can make them at home and that the size is up to you, I think you should already be on your way out to buy some good ripe strawberries.

Pics and Cakes

What do we need?

  • 500 g (1.1 lb) strawberries
  • 250 g (9 oz / about 1 cup) cream cheese (Philadelphia type)
  • 100 g (about 1/2 cup) heavy whipping cream
  • 150 g (3/4 cup) sugar
  • 2 teaspoons powdered cuajada (rennet-based setting mix)


How do we make it?

  1. First, wash the strawberries and remove the stems. Blend them well with a hand blender until you get a strawberry purée.
  2. In a small glass, put a bit of the strawberry purée and dissolve the cuajada in it. Set aside.
  3. Put the rest of the strawberry purée in a saucepan and heat it until it boils.
  4. Remove from the heat, add the portion of purée with the dissolved cuajada, and stir well.
  5. Put it back on the heat for about two minutes, stirring constantly. (BE CAREFUL at this step because if the heat is too high the strawberry purée can splatter and burn you. Trust me, the stuff is worse than water — being denser, it really sticks to you.)
  6. Let the purée cool down a little and then add the rest of the ingredients (sugar, cheese, and cream).
  7. Blend everything well with the hand blender and you'll see it has already taken on a lovely petit suisse color.
  8. All that's left is to pour it into whatever little glasses you want to serve it in and leave it in the fridge overnight.

Pics and Cakes

Tips:

– We used shot glasses — they look really cute and it's the perfect portion size, since we have to admit this is a pretty rich dessert (now I understand why our moms wouldn't let us eat too many… :-P). You can also use the little glass yogurt jars or any small cup you have around.

– I can't tell you for sure how long they'll keep in the fridge, but with these ingredients I'd estimate they'll last a week without any problem.

4 de junio de 2015 · 2 min · Palstelera